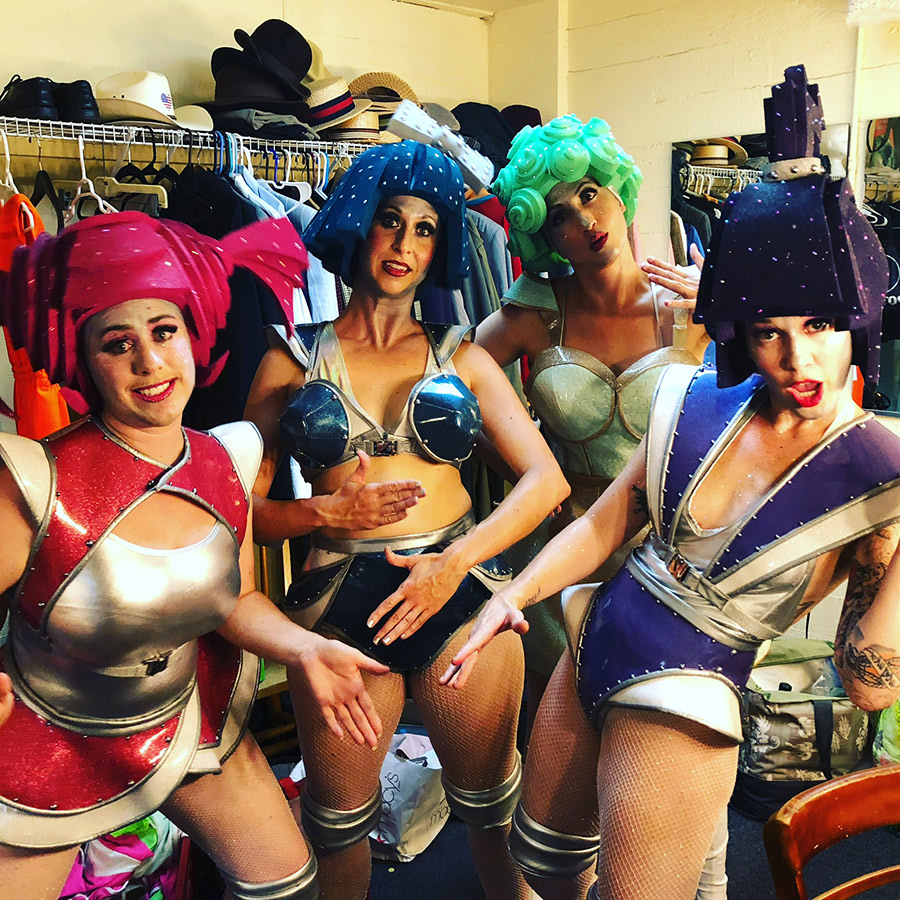
A Robot Costume Comes to Life
This post may contain affiliate links. Read about our privacy policy.
Bring in the FEMBOTS!!!
The Robot Costume might be some of my favorite costumes I’ve ever made. Ever.
I’m not going to be able to provide a detailed how-to on this; partly because I didn’t record the whole process, and party because I don’t want to share it all.
But I’ll share some of the creative process behind it.
These costumes were originally built for a burlesque show produced by an entertainment group on Maui called Fuzz Box. They put on some amazing shows across the island. Not always burlesque, but often burlesque adjacent. In May of 2018 they did a month-long series of shows called “COSMOS” that hit up almost all of the venues on island and many performance types. We were part of their Cyberlesque show.
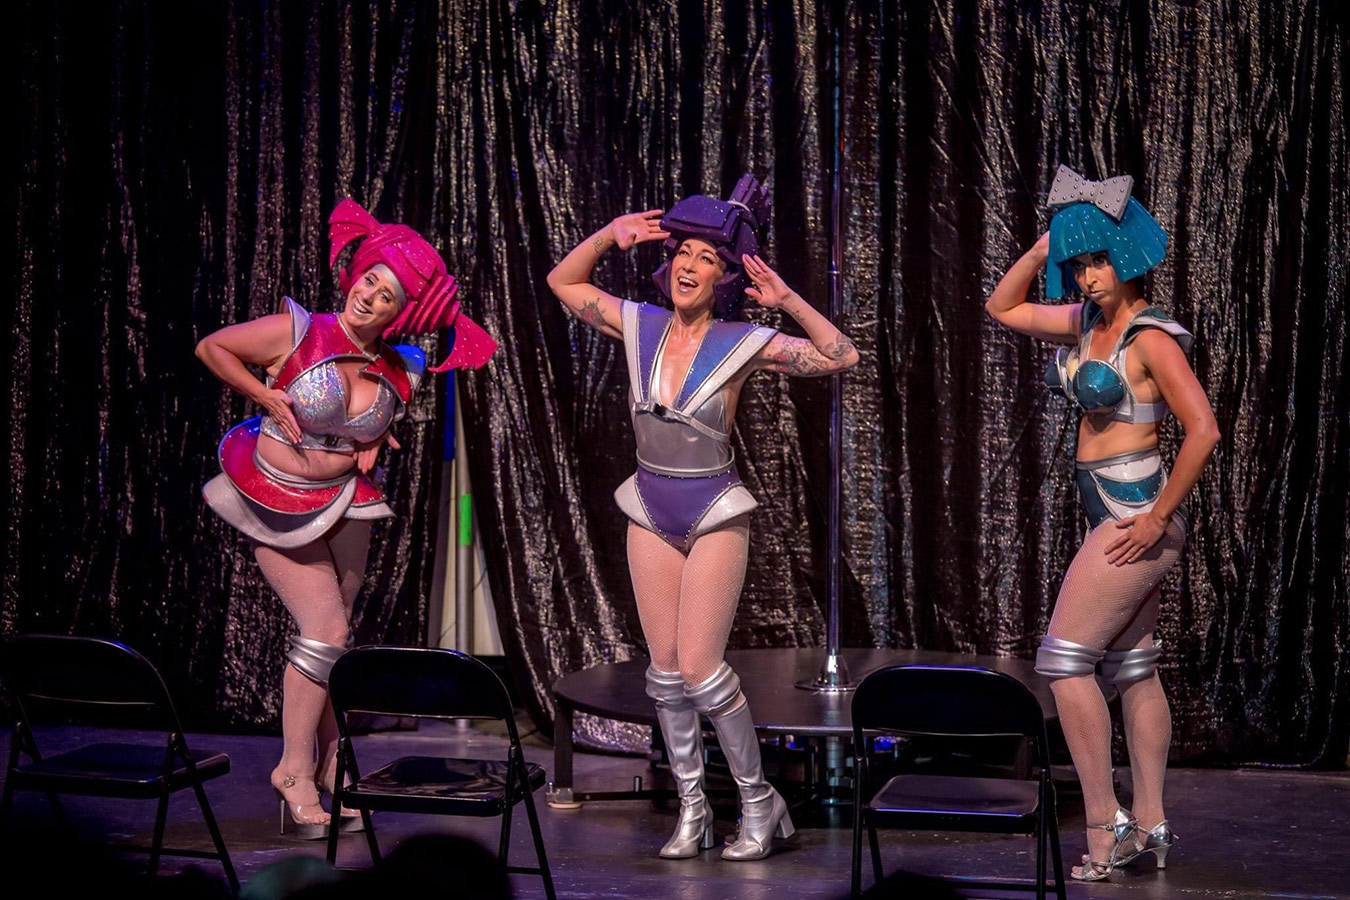
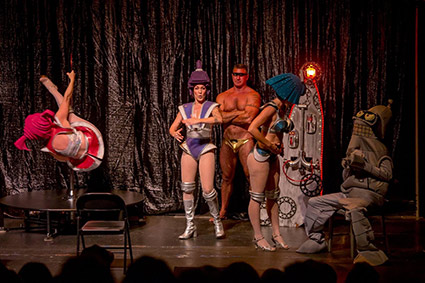 We created 2 numbers for Cyberlesque and I helped write their script. The idea for the show was 2 Starfleet academy grads go partying around the solar system. We were tasked with supplying a number for the dive bar strip club that they go to. Our main influence was the robot strippers from Futurama.
It was a fun number and we restaged it for our BurlyVision show later that year as part of the Hawaii Burlesque Festival and Revue.
There are 4 costumes and one is very different from the others – Bourbon Layne was newly postpartum and was not able to do a full number yet, so she had a slightly different role in the number. She was a cocktail waitress in the dive bar, the other 3 of us were the dancers.
Her costume has a vinyl hoop skirt with an apron and a vinyl corset top. Her wig was a bit simpler as well. This was the first foam wig I attempted and I changed the others a lot based on what I learned from this one.
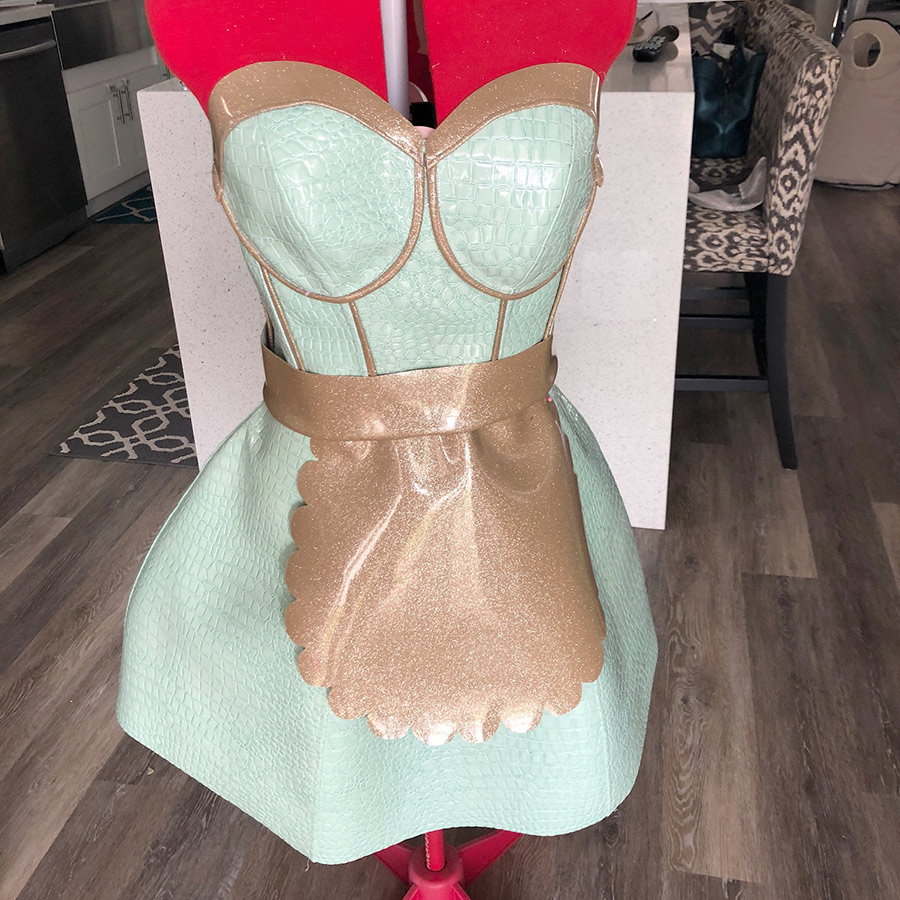
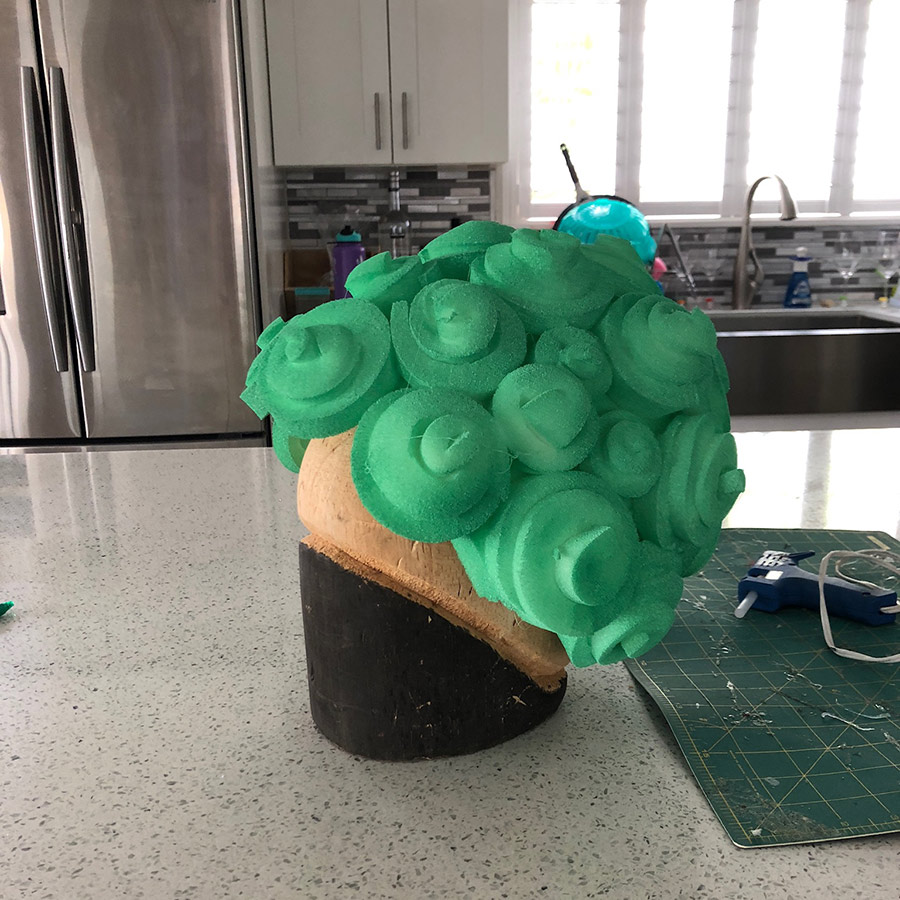
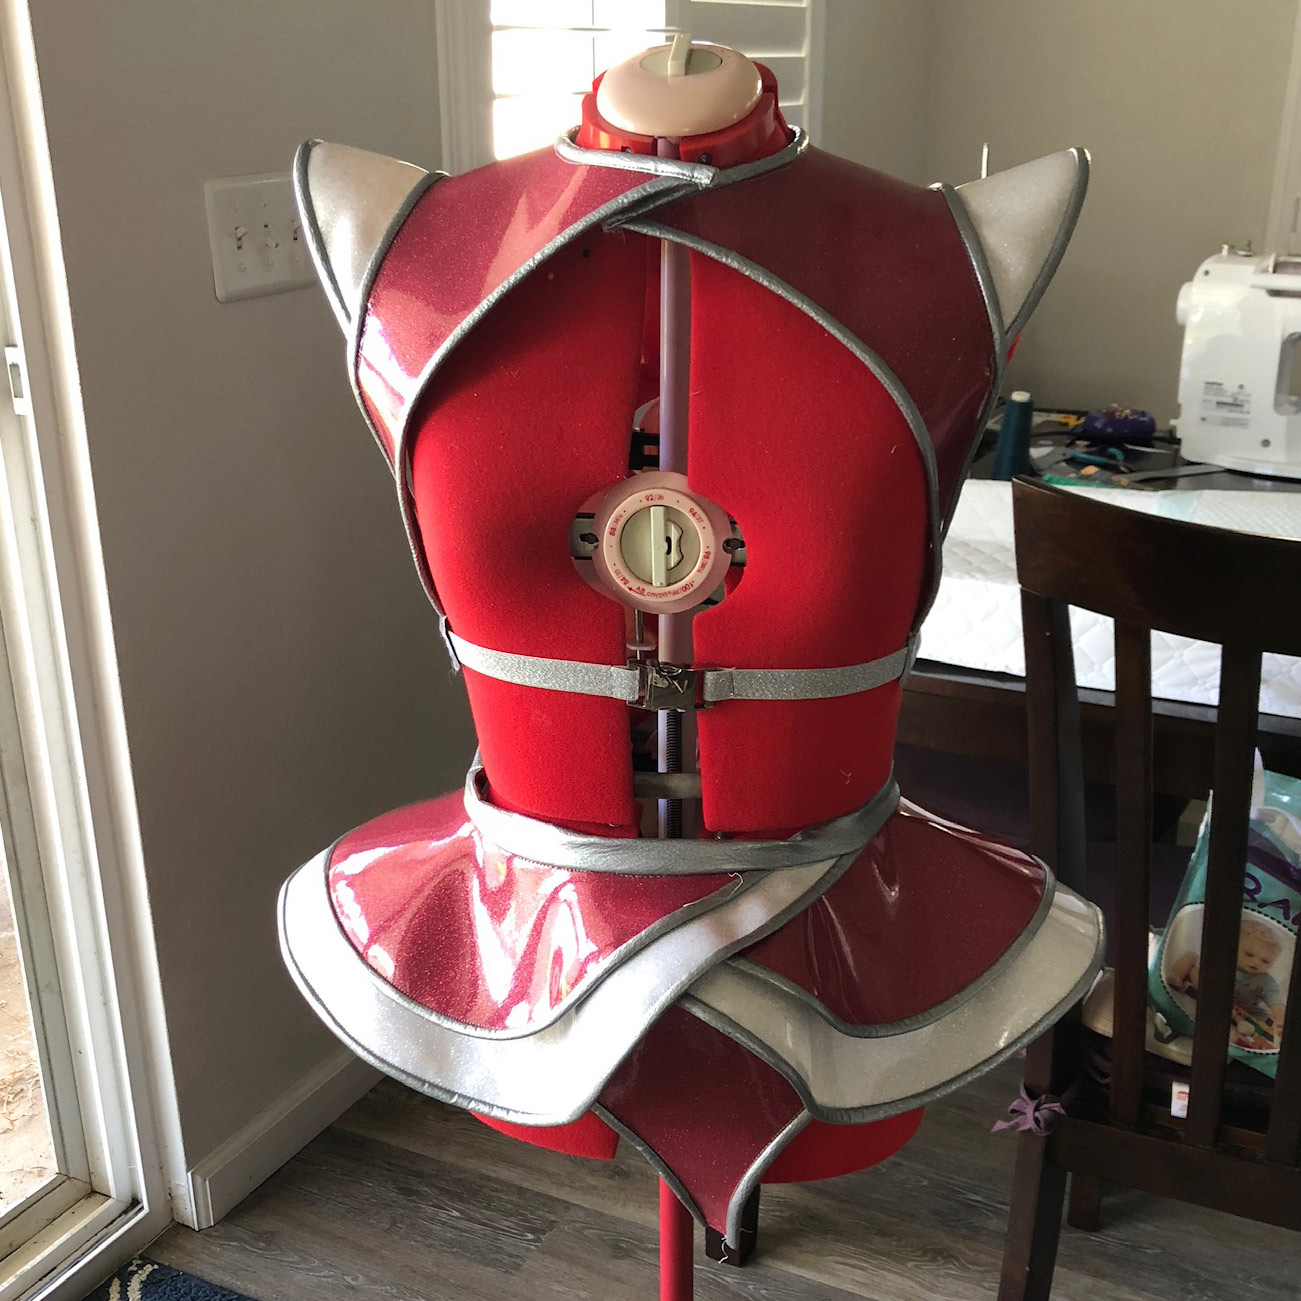
 While I wouldn’t recommend vinyl as the easiest fabric to work with, it provides such a neat look that was perfect for robots. If you are not ready to fight your sewing machine and break a lot of needles, you might want to avoid it. It also doesn’t work nicely with hot glue – it won’t stick to the vinyl side of the material. So, take all that with a grain of salt if you are considering working with it.
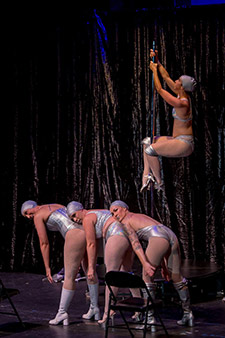
The other 3 costumes had to be able to come off on stage so they were designed a bit differently. They are intended to be worn over a base layer so do not provide complete coverage on the top. We wore silver holographic leotards/bikinis underneath. The wigs all came off too and we all had silver swim caps underneath – naked robots are super sexy.

The shapes involved in the costumes were fairly basic other than Miss F-Bomb’s – her boobs shoot off. Since we were supposed to be old, rickety robots we wanted her to have a boob malfunction during a lap dance. I used one of those ice cream cone toys where you can shoot the ice cream out. I took it apart and built the trigger mechanism into her top and glued the ice cream cone part to the “bra cups” then used a slinky to attach the bra cup to the top.
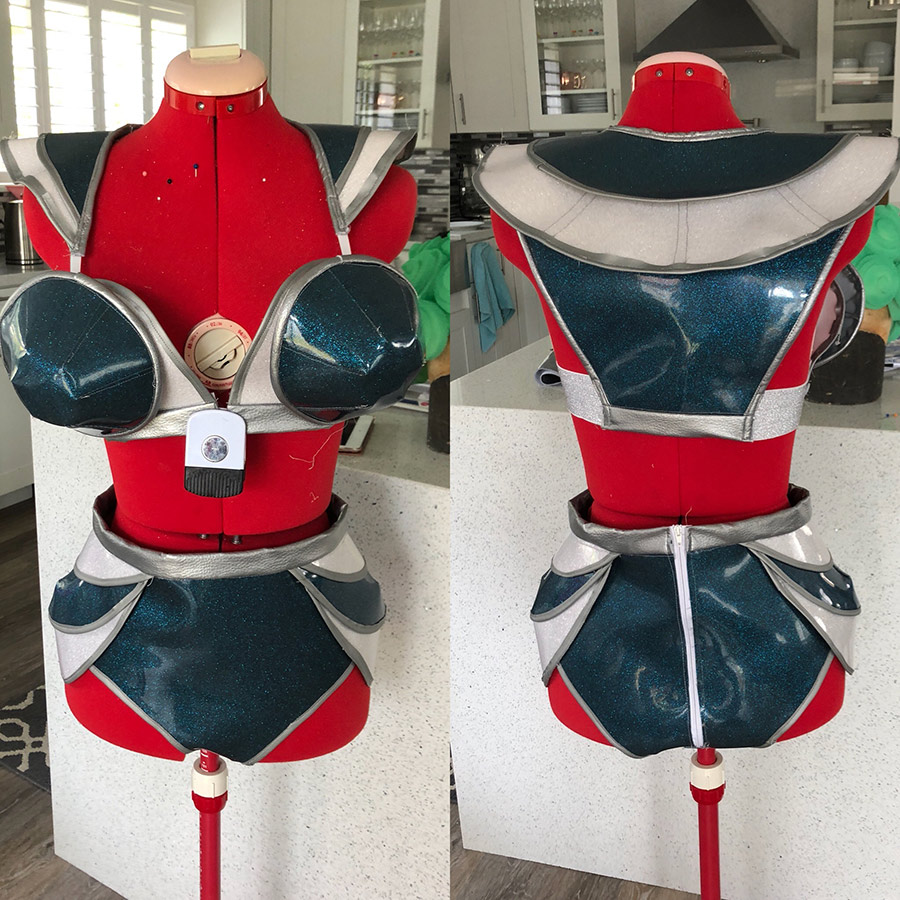
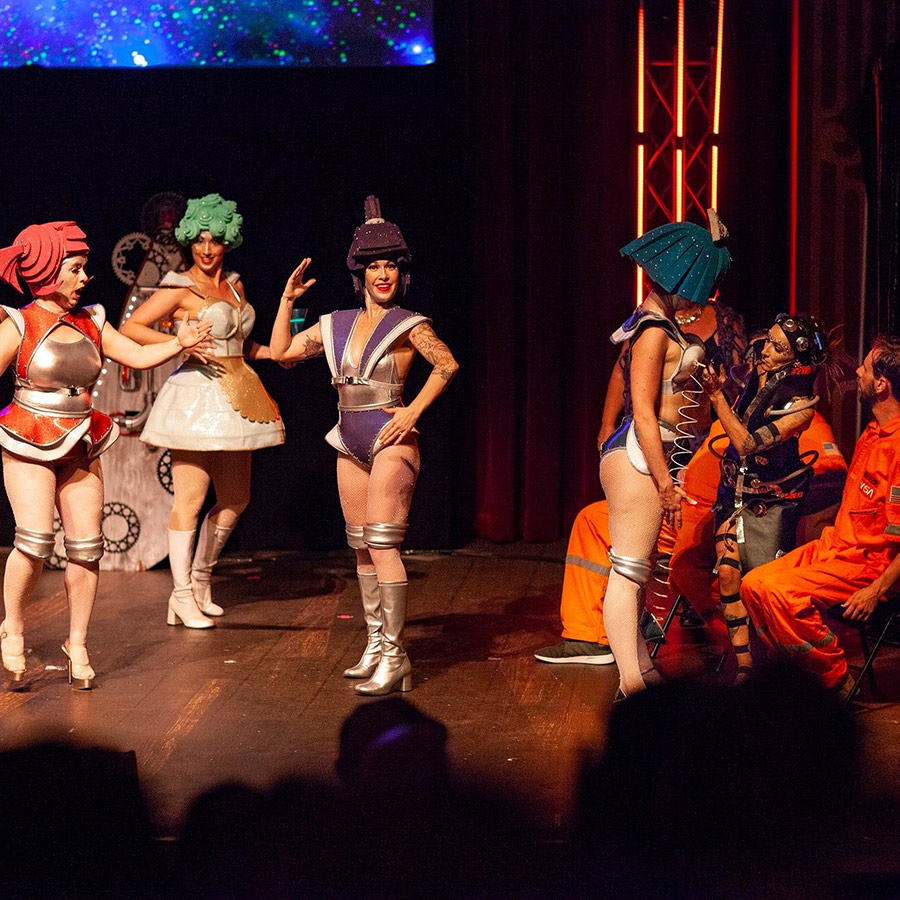
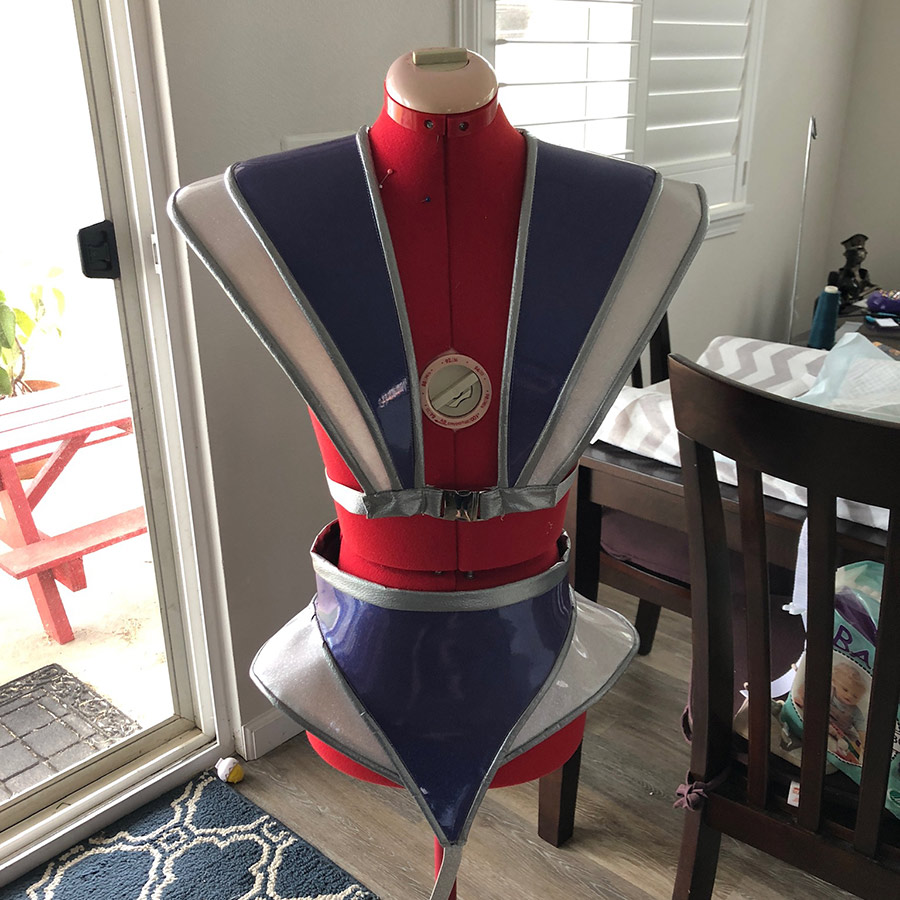
I used some silver elastic to connect some of the pieces to provide some stretch in the costumes and used silver buckles as closures for the tops. The bottoms had zippers.
The wigs were lots of fun to make.
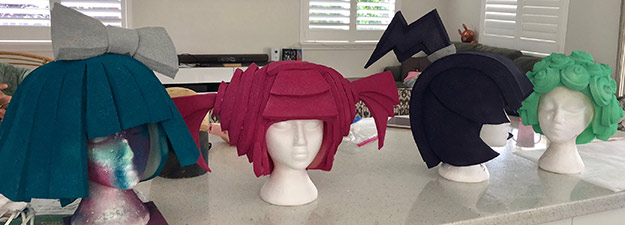
They were a little intimidating to get started on – there really isn’t a lot of info out there on how to make wigs like this so I had to figure a lot out on my own.
So here are some things that I figured out:

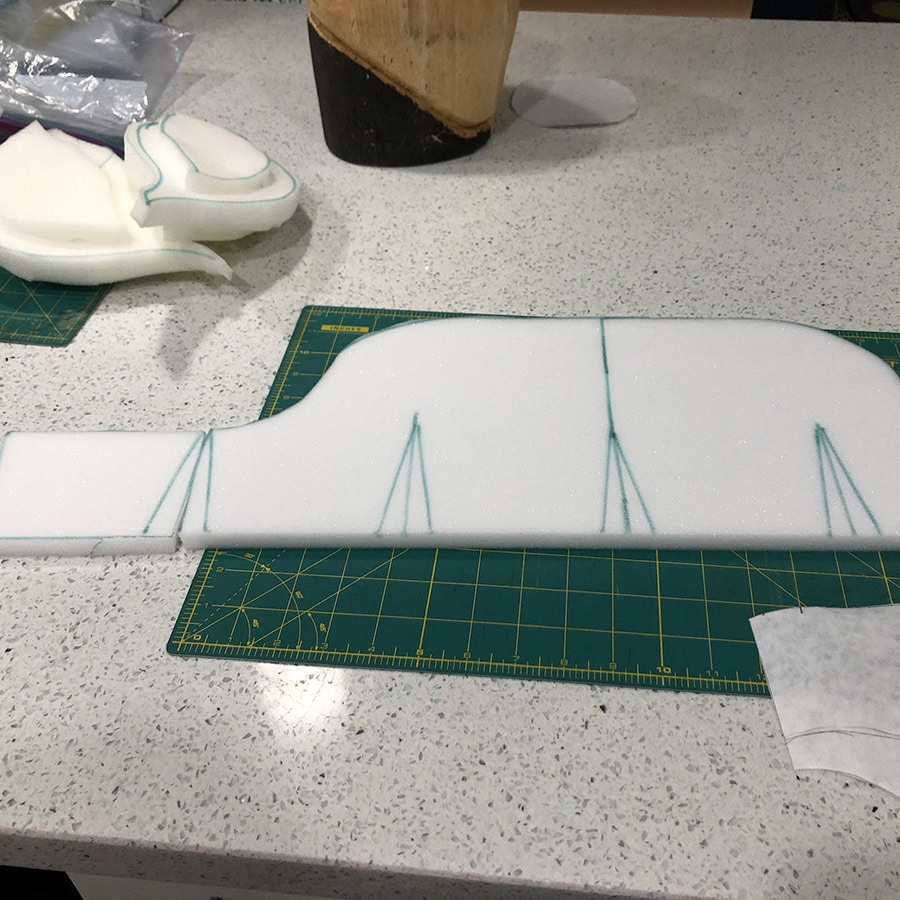
Base: The first base I made was ok, but I definitely improved upon it for the rest. Ideally the base isn’t seen, but it supports everything else and has to fit well enough to keep it on your head. I don’t have any pictures of the second base design by itself and I didn’t keep my paper patterns, but it was 2 pieces. There was a circle for the crown of the head and a second piece that went around the rest of the head basically in the same shape as your hairline. I have a random picture of the second piece. Those darts are cut out and glued together around the crown.
I used the thinner foam for the base. I think the idea for this shape came from a foam wig base you can buy from Europe – it was one of the few helpful things I found during my Pinterest search of foam wigs.
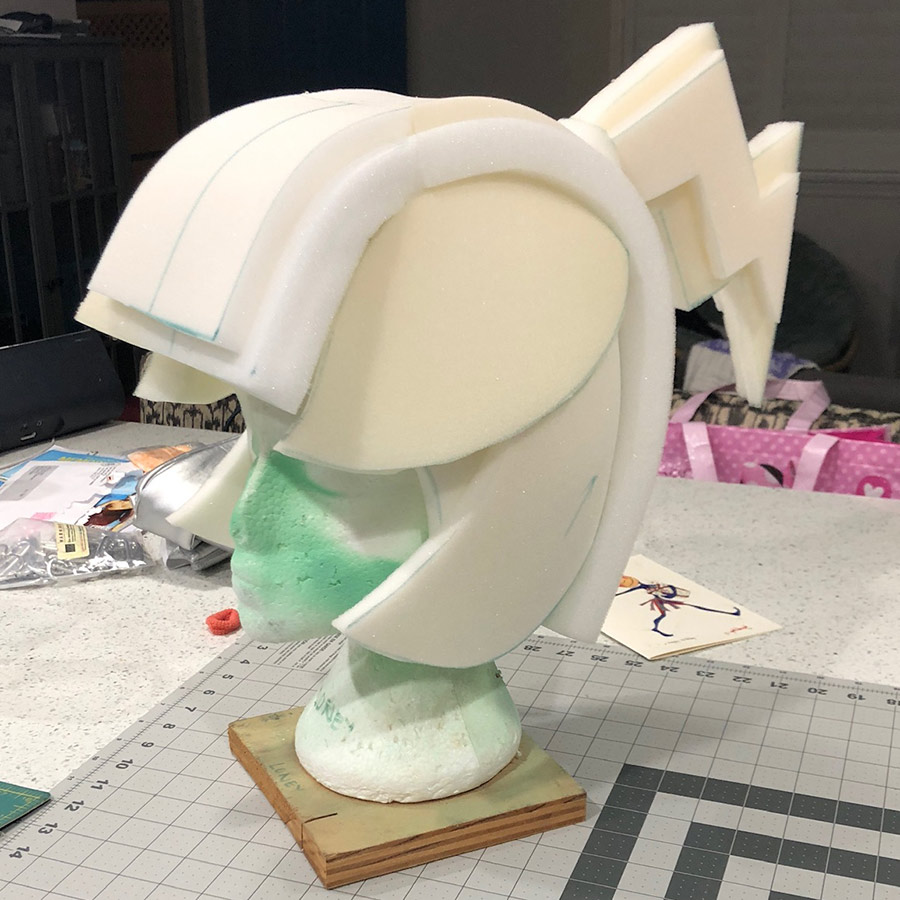
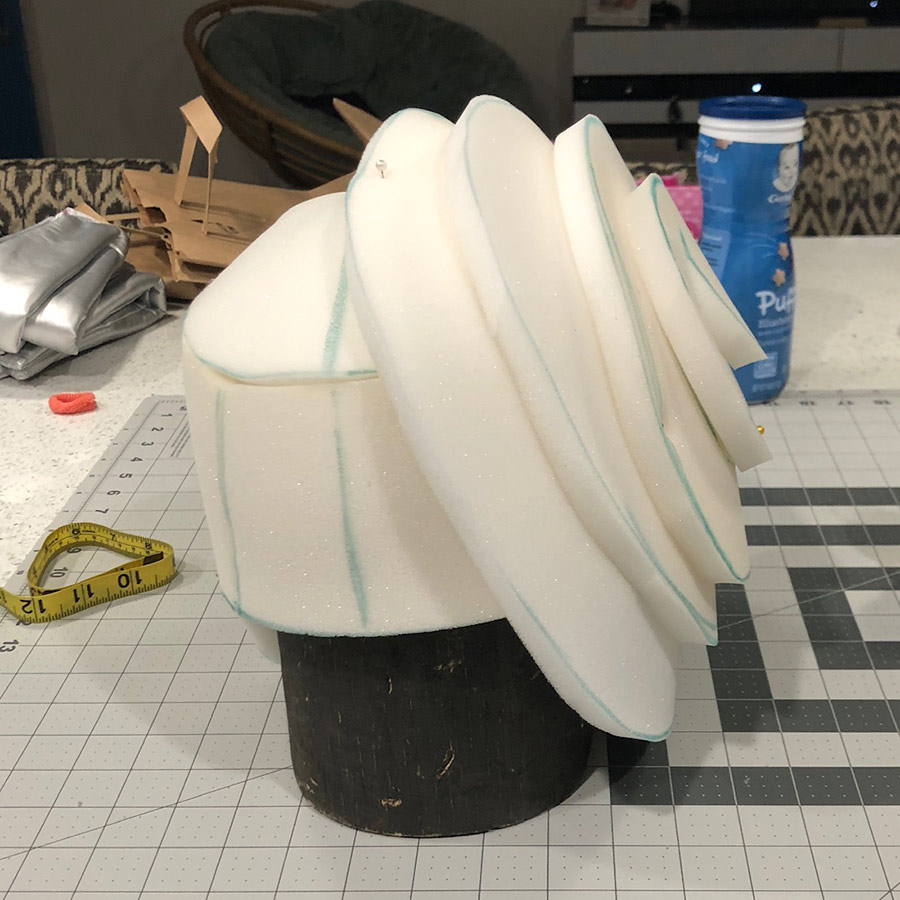
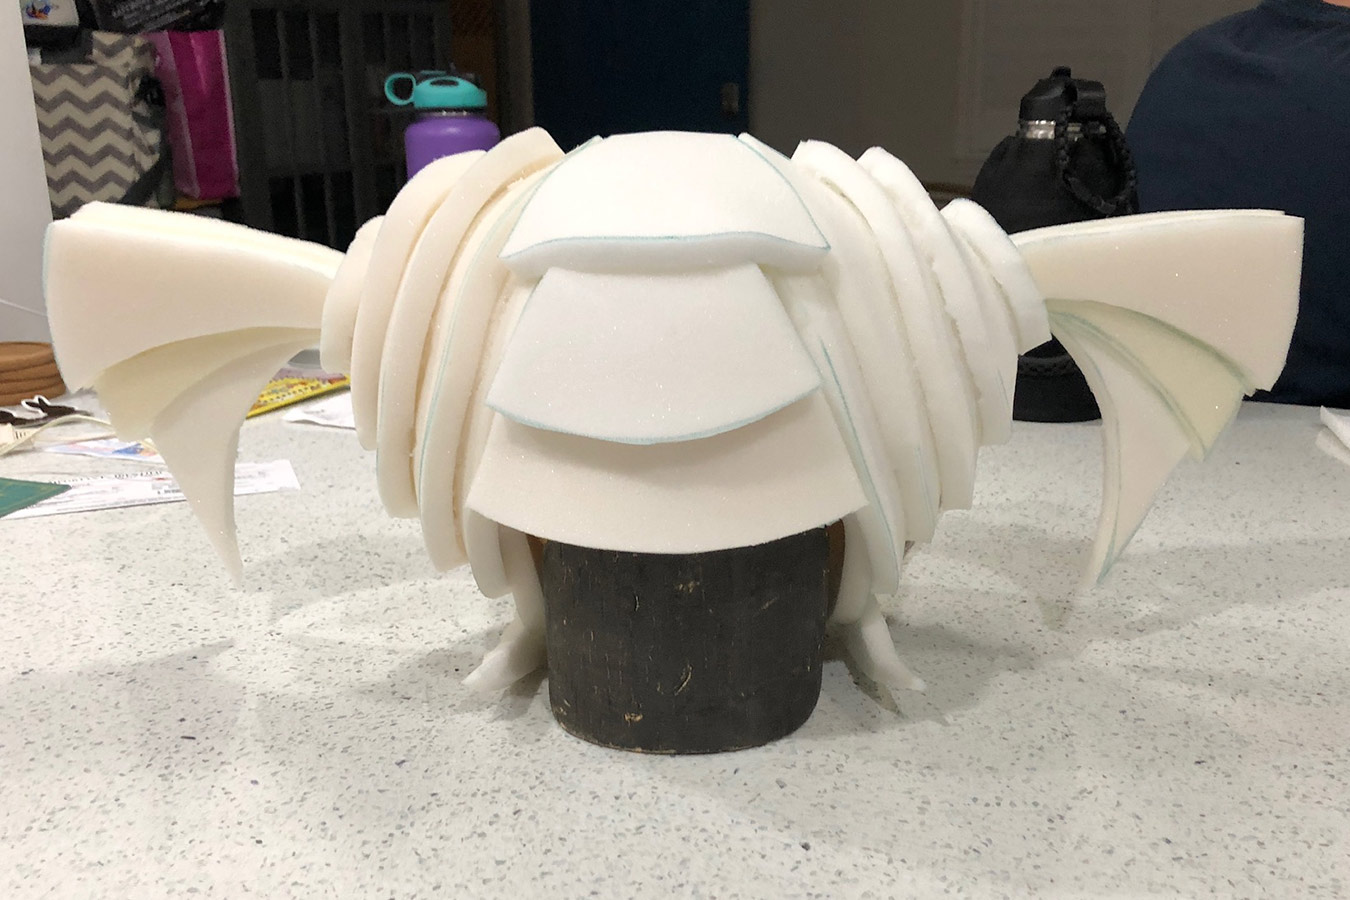
Trial & Error: Once you have a base that fits well, then it’s really just trial and error to get it to look right. I did a lot of mock ups with paper and had to redo some things a few times to get the look that I wanted, but it was a lot of fun to do. I often used pins and a Styrofoam head to try out shapes on the base.
Obviously, they were rhinestoned upon completion. Our resident rhinestone specialist, Lily O Lei handled that part. Like I said – Favorite Costumes Ever!
Disclaimer: This post includes affiliate links, and I will earn a commission if you purchase through these links. Please note that I’ve linked to these products purely because I recommend them and they are from companies I trust. There is no additional cost to you.


This Post Has 0 Comments