DIY Floral Letter
This post may contain affiliate links. Read about our privacy policy.
For my daughter’s first birthday party I decided to make her a floral ‘O’ as part of the decorations. After the party I hung it up on her bedroom door, so before my son was born, I made him an ‘H’.
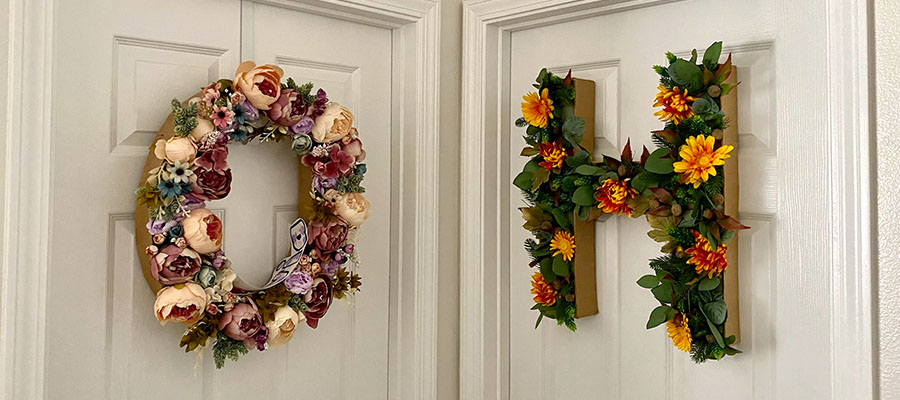
“OH! How Cute!” is what you’re thinking, right? Followed by: “good thing their bedrooms aren’t reversed.” =P
When I made the first one, I looked up tutorials online but didn’t find anything that quite like what I wanted. Most recommended buying the letters at a craft store and that’s rarely an option on Maui. Others made them using an existing box as a base, keeping the letters very square – and obviously for an ‘O’ that doesn’t really work.
So, I made my own way. Here’s what you will need to make your floral letter:
- An assortment of cardboard
- Xact-o knife
- Masking Tape
- Paper
- Liquid Starch
- Floral Foam
- Hot Glue
- An assortment of fake flowers and foliage
The letter base is made out of cardboard – between Amazon and all the cereal we eat, cardboard is never hard to come by in my house. Draw the letter you want on a large sturdy piece of cardboard trying to keep it somewhat symmetrical and evenly sized. I drew the O by hand and it is narrower at the top (2”) and wider on the sides (3.5”). The H was a lot easier to do with its blocky shape. Both of my letters are approximately 19″ high and 15-17″ wide. When you’ve got your letter drafted on the cardboard cut it out with an Xact-o knife.
By making the letter base yourself the size, proportions, and font are really up to you. I made the H the same height as the O since they would be hanging on adjacent doors. You could also easily go beyond letters and do any number, symbol, shape you want.
Once you have your shape cut out, make strips of cardboard for the sides. I did 2.5” wide strips because my floral foam was 2” thick. Adjust this if your foam is a different height. Then tape the sides to the base with masking tape.
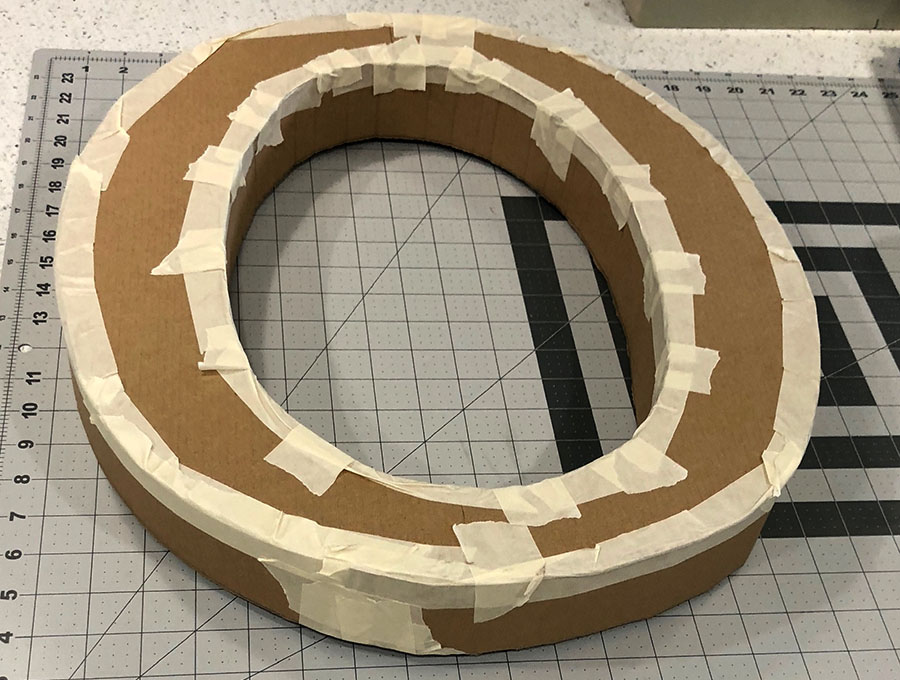
Once it’s assembled, cover the outside of the letter with Papier-mâché. I used brown packing paper (from my Amazon deliveries), but you could always do a different color paper or use newspaper and paint it. I use liquid starch when I do Papier-mâché – it’s super simple and easy to clean. Pour the starch into a bowl or tub and dredge the paper through it. Squeeze out any excess before draping over the cardboard. I recommend putting down a towel or extra newspaper underneath because there will be lots of drips.
Place it upside down on something to dry, trying to minimize the amount of contact the wet surfaces are making with whatever it’s sitting on. Once the letter is dry fill it with floral foam.
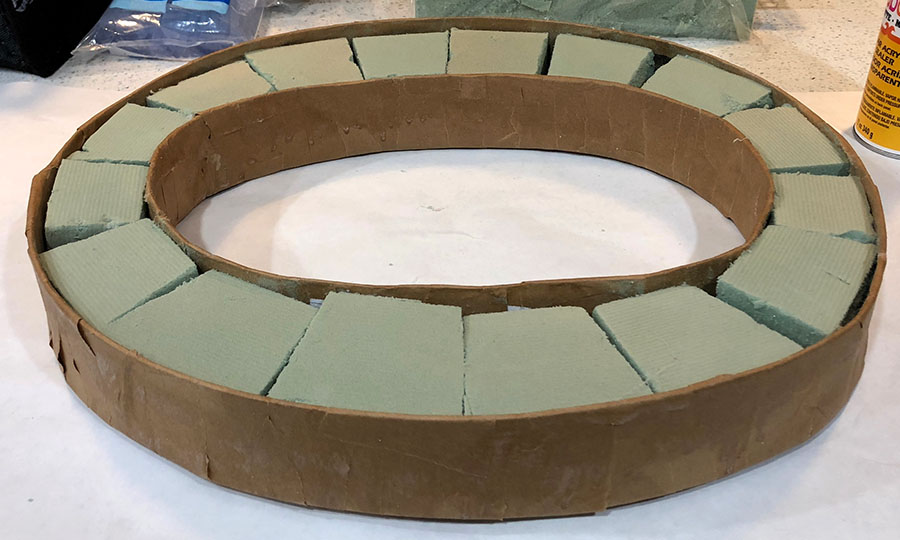
The floral foam doesn’t have to fill all the space since it won’t be seen, but I did try to get it pretty close in width so it was somewhat secure in between the edges of the letter. Pretty sure I cut the floral foam using my bread knife to get the size I wanted. I also hot glued the back of the foam to the letter to keep it secure.
Once the foam is securely in place all that’s left is to arrange your flowers. For some flowers you will have to cut them stem short with wire cutters, so they fit nicely in the letter. If the flowers come without a stem you can use a toothpick instead. I’d recommend hot gluing the flower to the toothpick for security.
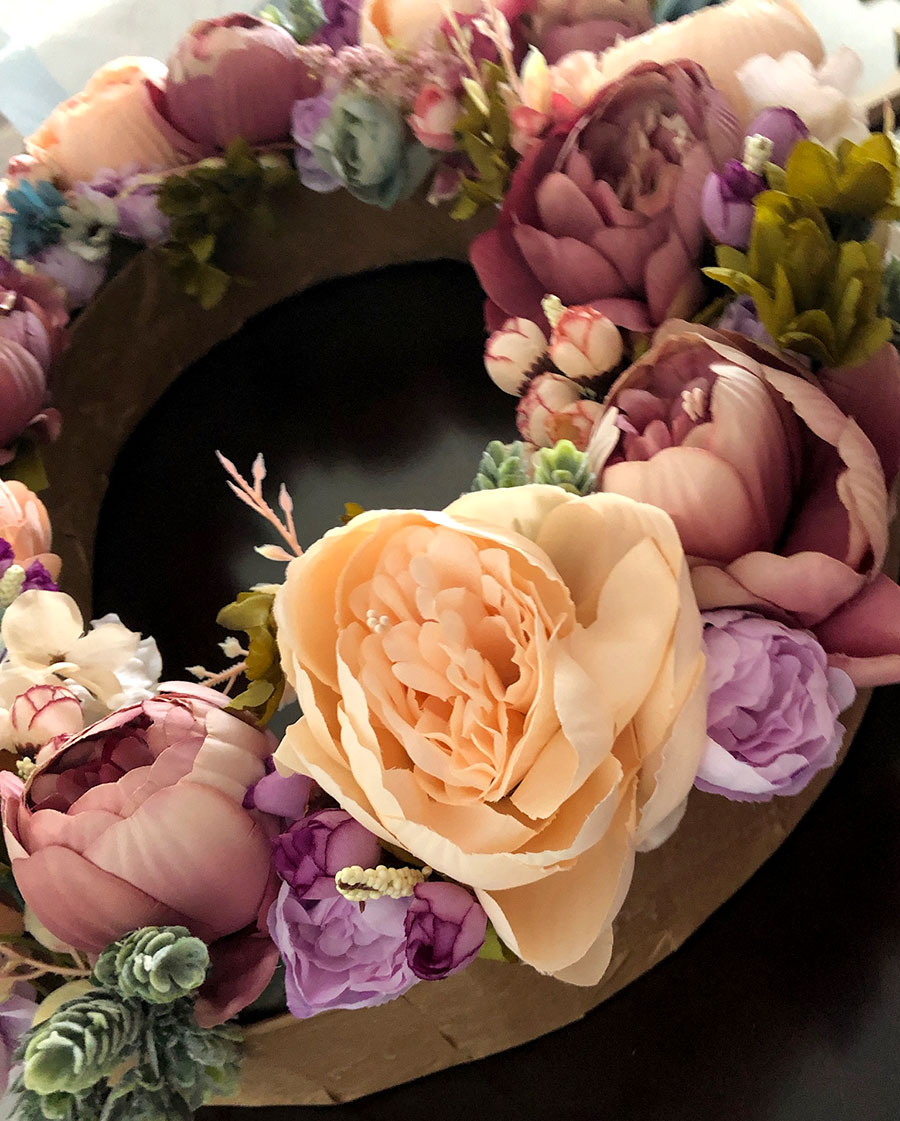
Make sure your arrangement is dense enough so you can’t see the inside of the letter. I’d also recommend hot gluing the flowers in place once you have them arranged, especially if this something you plan to keep for a long time.
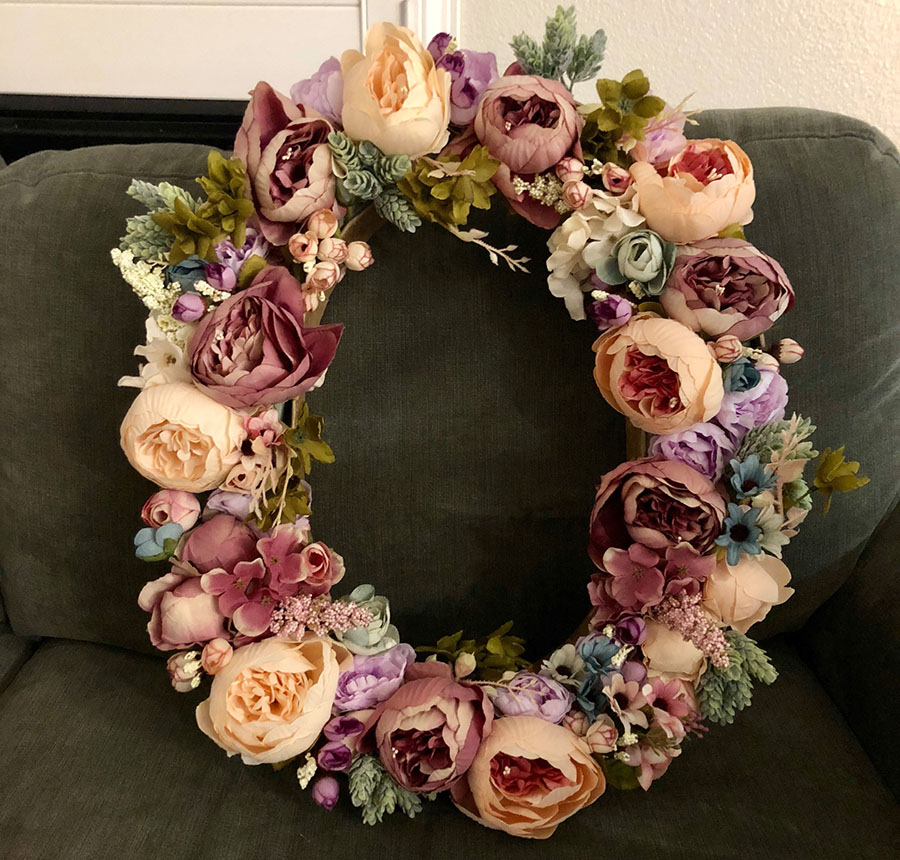
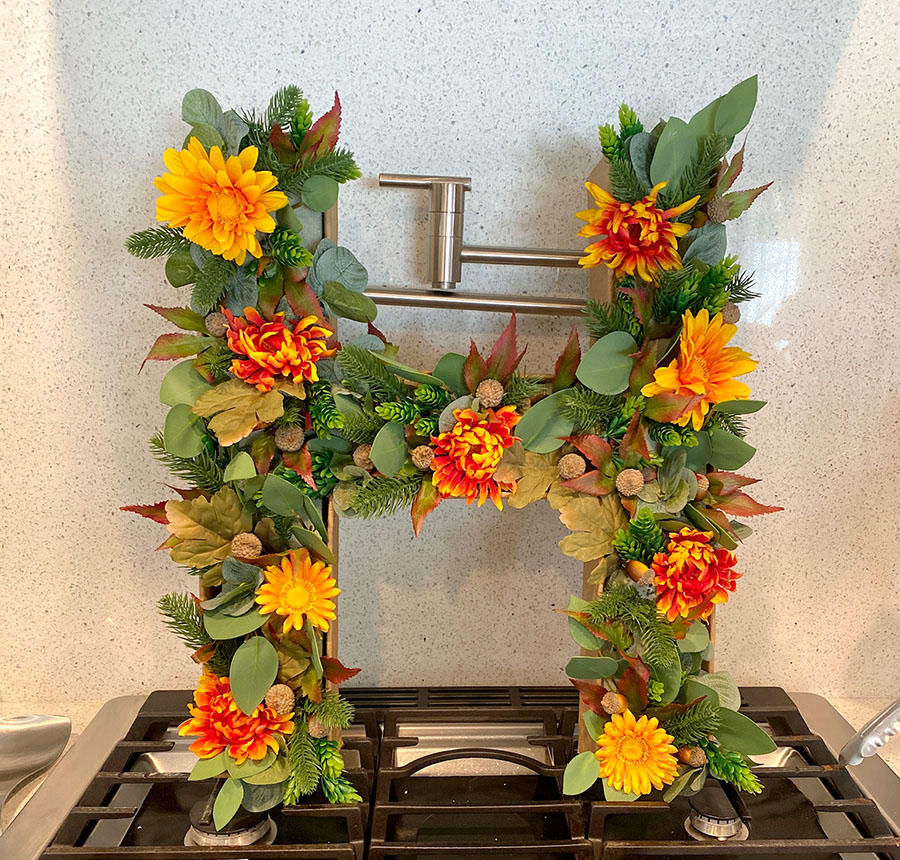
To hang them I used a wreath hook for the O. It works fine but may eventually damage the letter since it’s just kind of sitting on the edge of the hook. For the H, a wreath hook wouldn’t work so I used some 3M Command heavy picture hanging strips instead. Had to get them aligned just right to fit on the panels of the door, but it’s holding up very well.
Disclaimer: This post includes affiliate links, and I will earn a commission if you purchase through these links. Please note that I’ve linked to these products purely because I recommend them and they are from companies I trust. There is no additional cost to you.



This Post Has 0 Comments