
Quick, Cheap and Easy Tulle Boa
This post may contain affiliate links. Read about our privacy policy.
Years ago, I bought a set of presser feet for my sewing machine off of an Instagram Ad. I’ve used maybe 5% of them, the rest have sat in the box in storage. But yesterday I was prepping for a costume workshop and decided to try out the Shirring Foot (Gathering Foot). Most of the feet and special stitches on a sewing machine can have a bit of a learning curve, but the Shirring Foot was super-easy to use.
After a quick google search, I was gathering tulle for a bustle/tutu like nothing. It was so super easy I am kicking myself for not trying it out earlier.
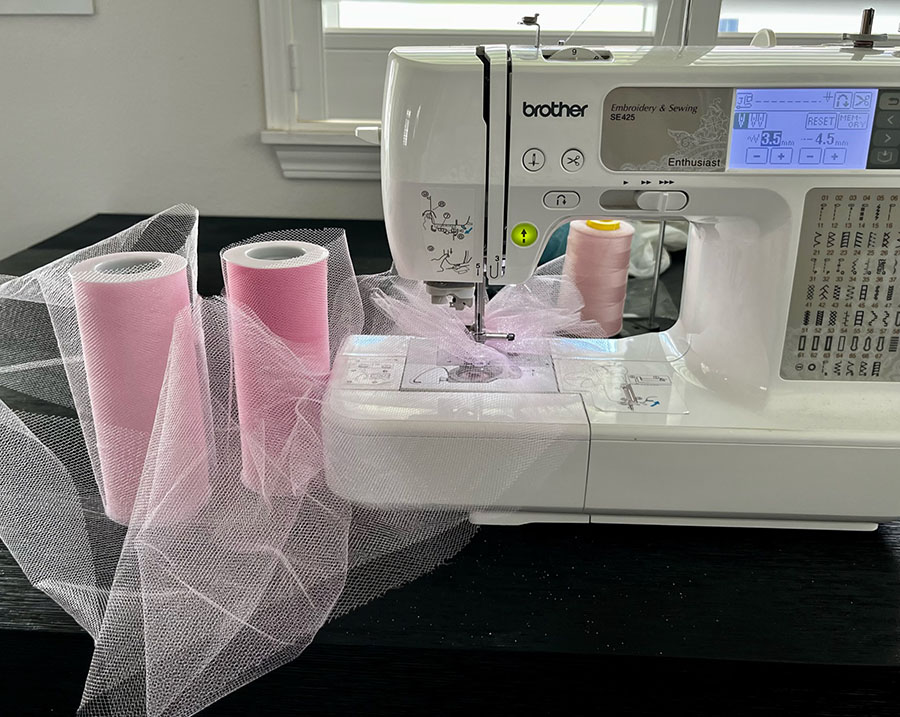
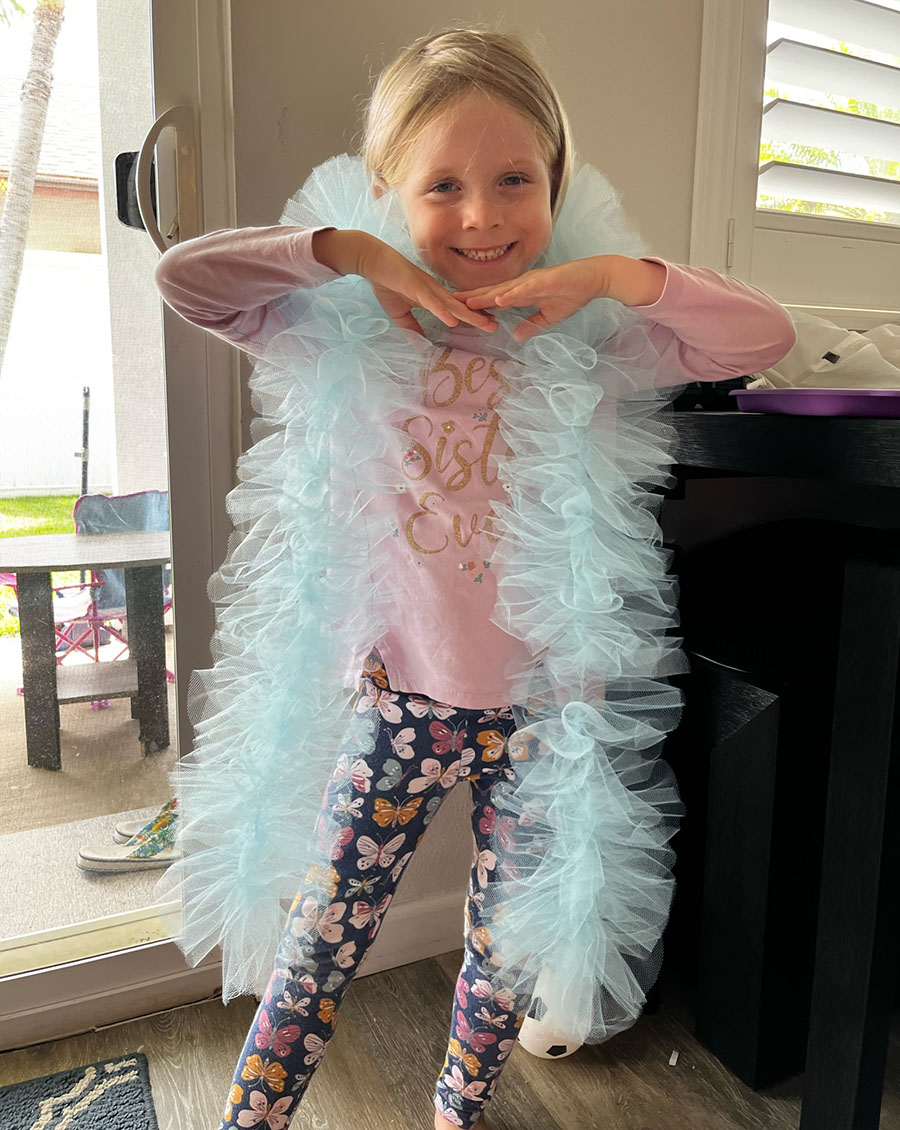
I had an assortment of tulle that I was playing with for this workshop and decided to grab a standard 25yd roll of 6” tulle and gather it right down the middle. I was thinking it’d work well as a decorative trim, but what I got was a super easy, super quick tulle boa.
Granted it’s not as full as other tulle boa methods. It’s also a little bit shorter than a standard boa and probably won’t hold up for too many uses. But did I mention that it’s quick and easy. And cheap! For all your last-minute boa needs.
Here’s a link to a tutorial for a fuller, more robust tulle boa.
Here’s what you need:
- Sewing machine (stitch length set to 4.0; tension up high)
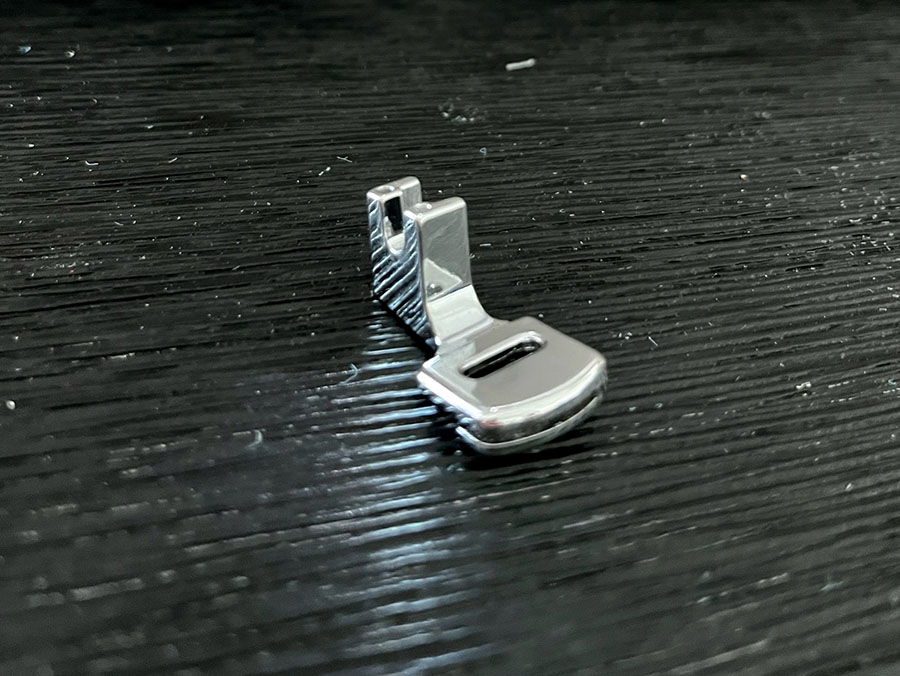
- Shirring foot
- 25yd Roll of 6” wide Tulle
- Thread and full bobbin matching the color of the tulle
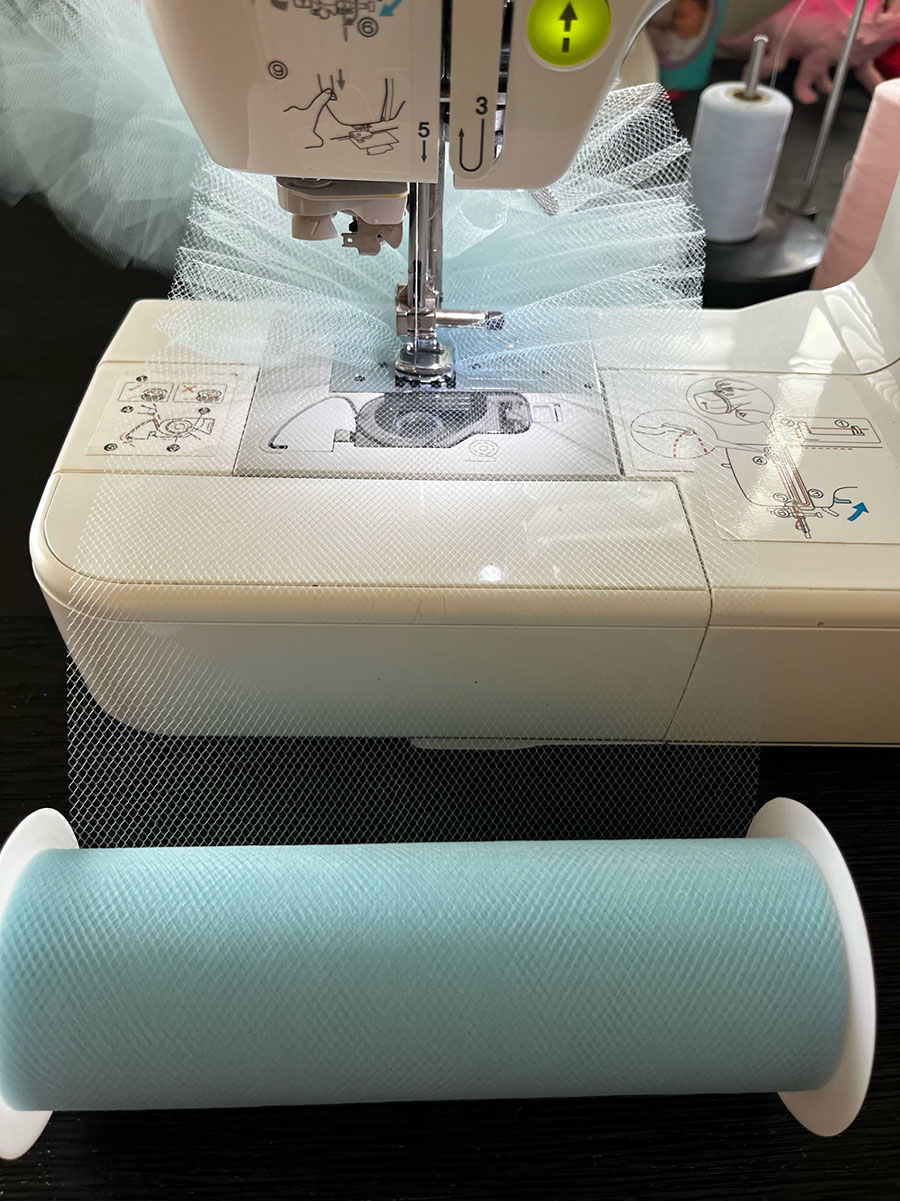
Swap out your regular presser foot with the shirring foot. This does require removing the shank and the foot, and you may need a screwdriver to do this.
Set the stitch length on your machine to a longer stitch (4.0) and turn the tension up a bit. You can play with the stitch length and tension settings for your machine with some scrap tulle to get the gather you want. I would just recommend that you don’t use the tulle roll for the boa to do your setup. You want the whole roll available, otherwise it will end up shorter.
Make sure you have a lot of thread and a full bobbin. The thread will be the core of the whole boa, so you don’t want any breaks. I recommend having some excess upper and bobbin thread at the start so you have a good end to your boa.
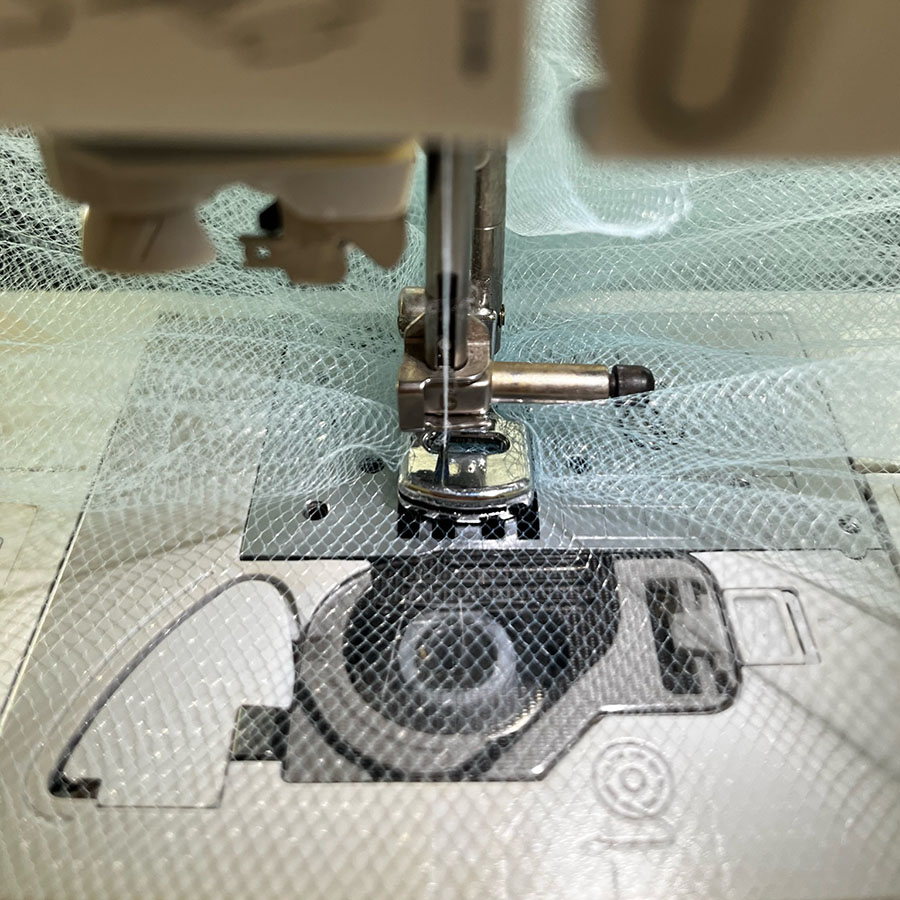
Center up the tulle under your presser foot, hold the upper and bobbin thread ends to the back, and go! It will gather for you in the most delightful way! As it goes, just make sure the tulle is centered to create an even boa, and keep the gathered bits from getting caught in the various parts of the machine assembly. I think it took me all of 10-minutes of continuous sewing to get through the whole 25yds.
When you get through the whole thing, I recommend leaving a little thread tail at the end. You can always cut those off later, but they are handy to have if you want to attach decorative bobbles, tassels, etc. to the ends.
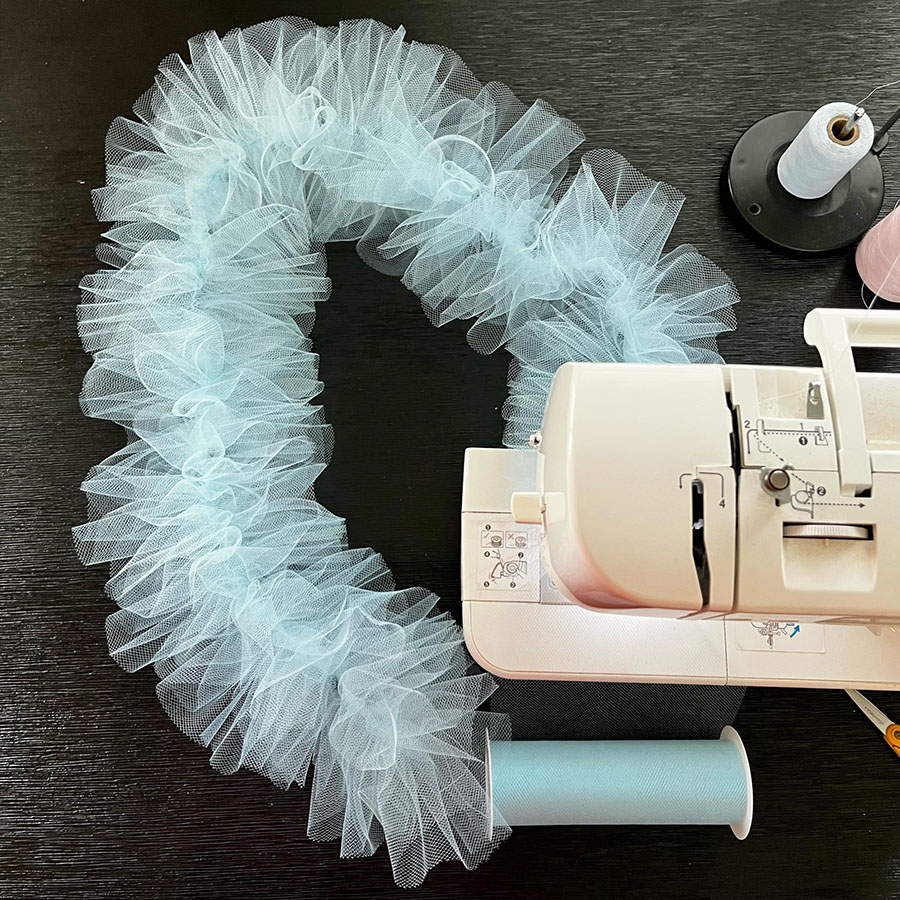
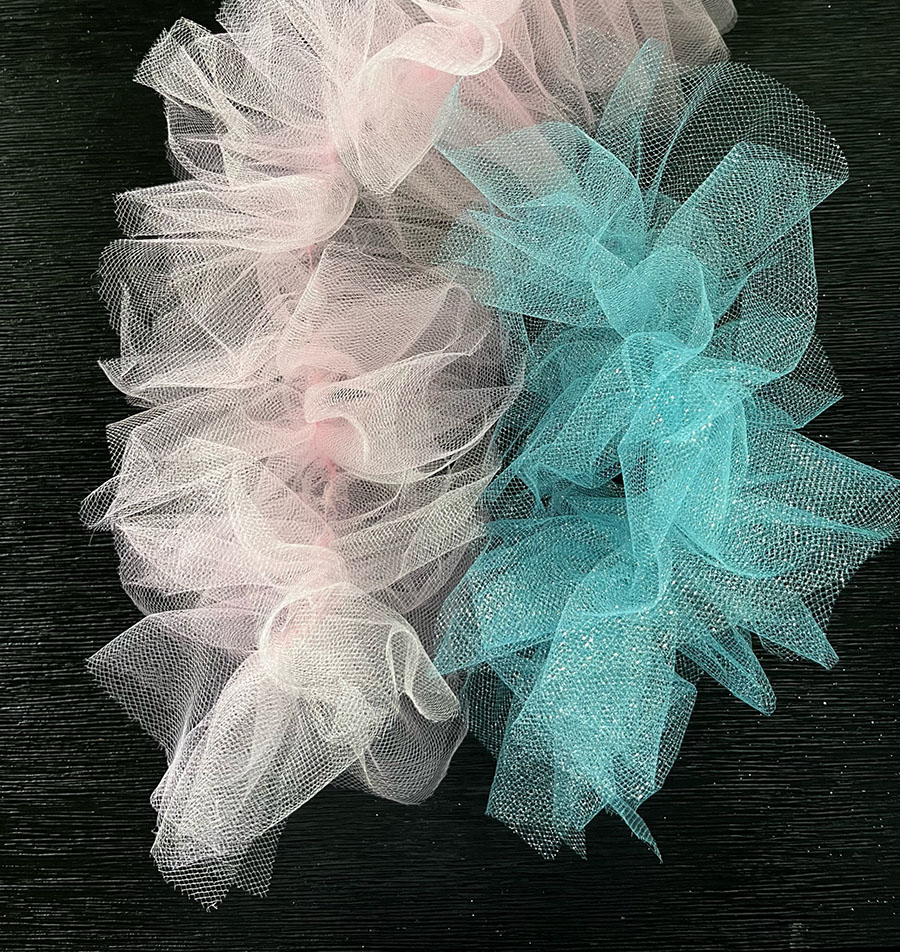
Different weights/deniers of tulle provided different results. Softer tulle gives a fluffy look. Stiffer tulle creates a firmer look. I also tried doing two rolls at once to see if it doubled the fullness. It helped a little, but not sure if it was entirely worth it. I may have to play with that more.
Below are two different doubled rolls. The pink is a softer/lower denier tulle; the blue is stiffer/higher denier with glitter.
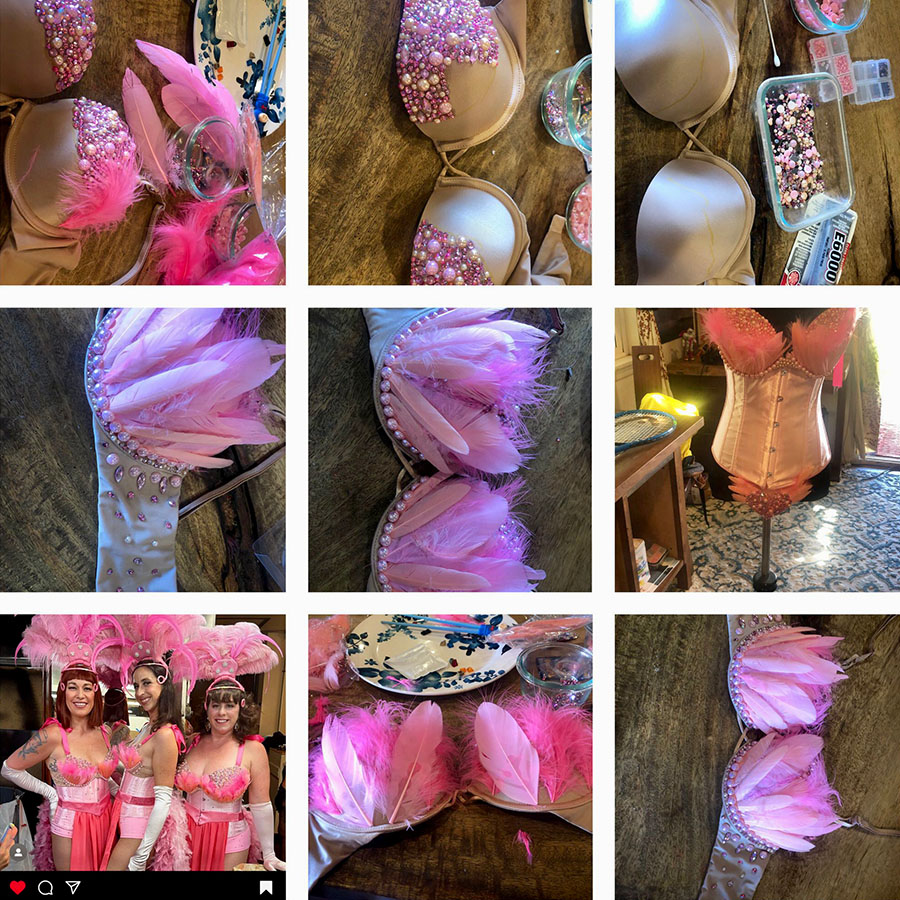
All in all, it was a lot of fun, and a super cheap and easy way to make a last-minute boa for all your burlesque or dress up needs.
Disclaimer: This post includes affiliate links, and I will earn a commission if you purchase through these links. Please note that I’ve linked to these products purely because I recommend them and they are from companies I trust. There is no additional cost to you.
Related Posts


Comments (0)