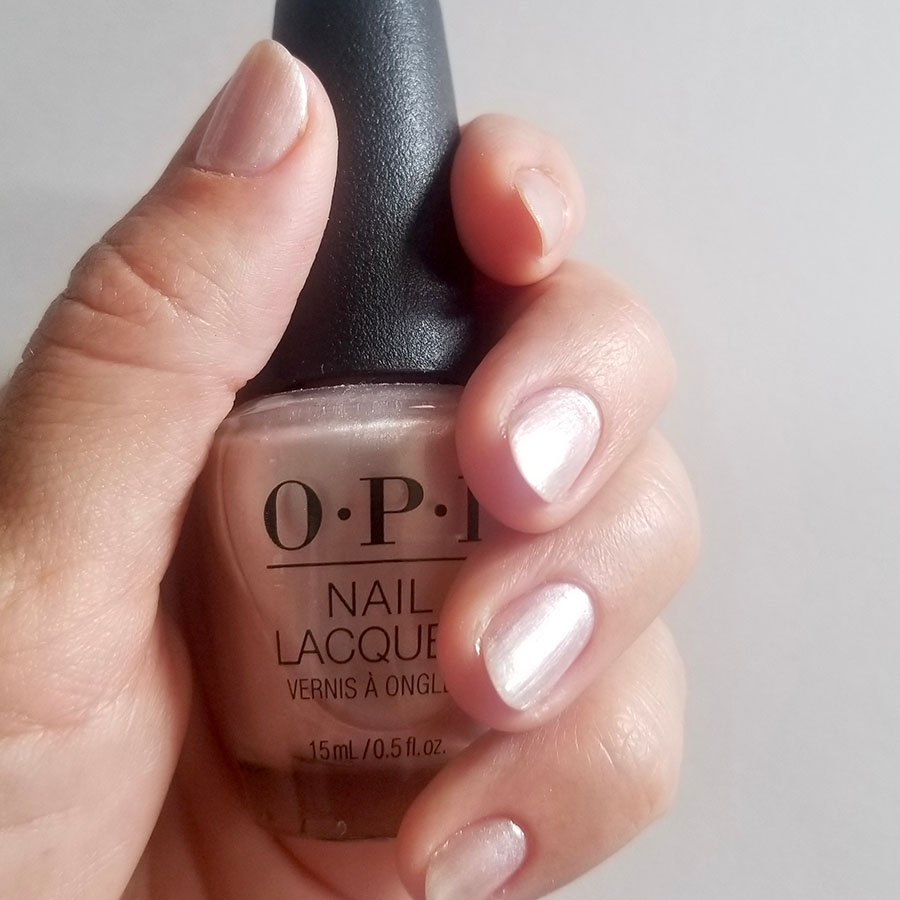
Show Ready Nails In A Snap!
This post may contain affiliate links. Read about our privacy policy.
I don’t know about you, but I find that a fresh manicure can really finish out a look. I do not often find extra time in my schedule for a trip to the nail salon and it can also be a little pricey, so I am sharing my go-to home manicure tips with you! With a little practice and preparation, you can save time and money and look your best for your next show or special occasion.
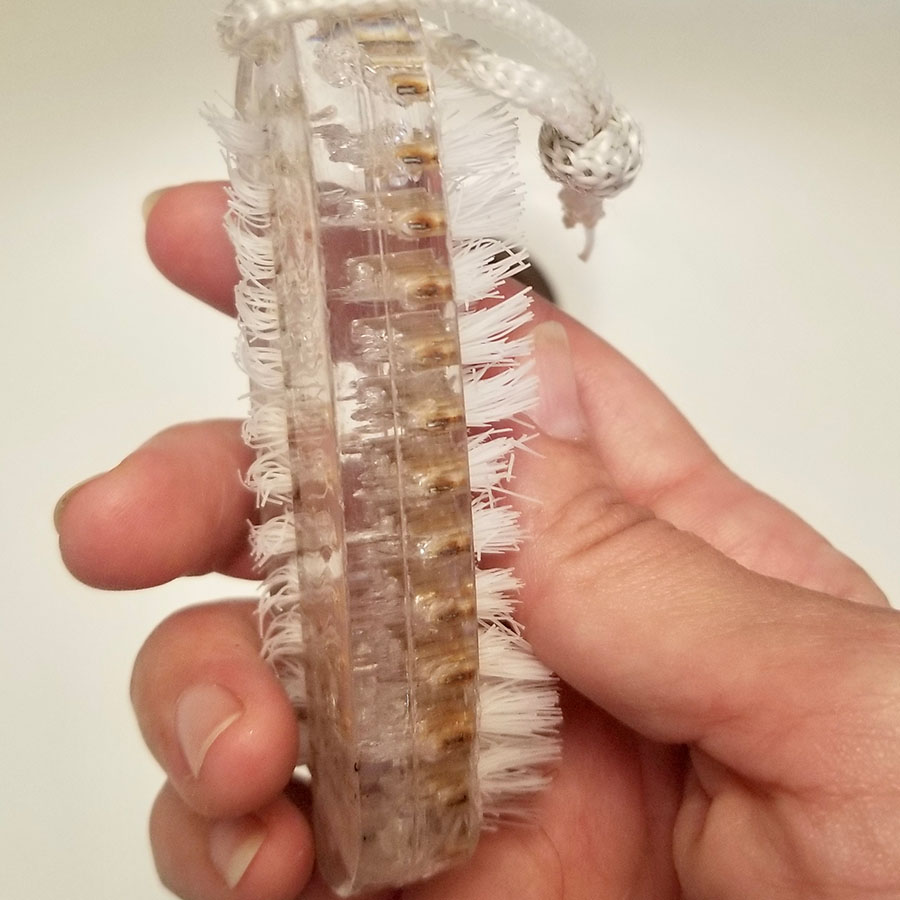
You should always start with clean nails. Remove any existing nail polish with your favorite polish remover and get to work cleaning your hands. Grab yourself a nice little nail brush from your local drug store. They are only a couple of dollars and can get into the nooks and crannies of your nails, cuticles, and fingers. A little bit of soap and water should do the trick when paired with a nail brush, or you can make yourself a little at home spa treatment and throw together an easy exfoliating and moisturizing scrub. I will include that simple recipe at the end of this post.
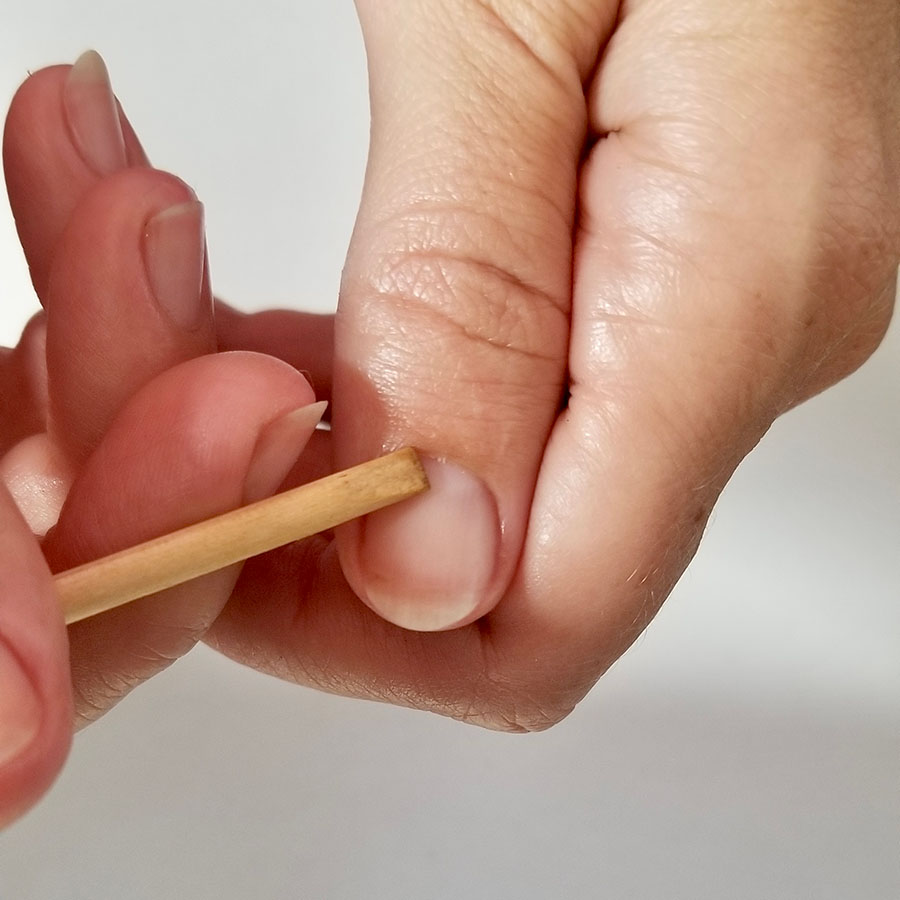
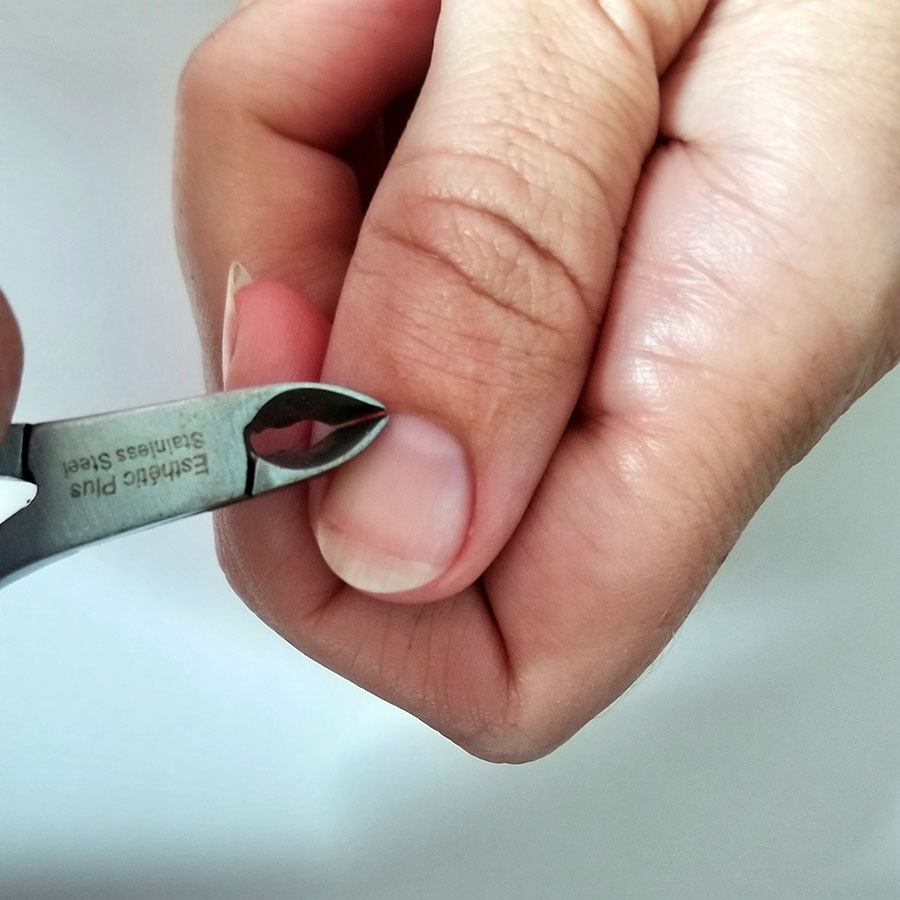
Next, we move on to cuticle care. After your hands are clean and dry, moisturize with your favorite hand lotion and dab some cuticle oil or salve on the base of your nail. Take an orange stick or cuticle pusher and gently push your cuticles back towards the base of your nail, taking time to remove any residue that is left behind. Our last bit of work on our cuticles is carefully trimming away any snags or hangnails with a sharp pair of cuticle trimmers. Take care not to snip too deep!
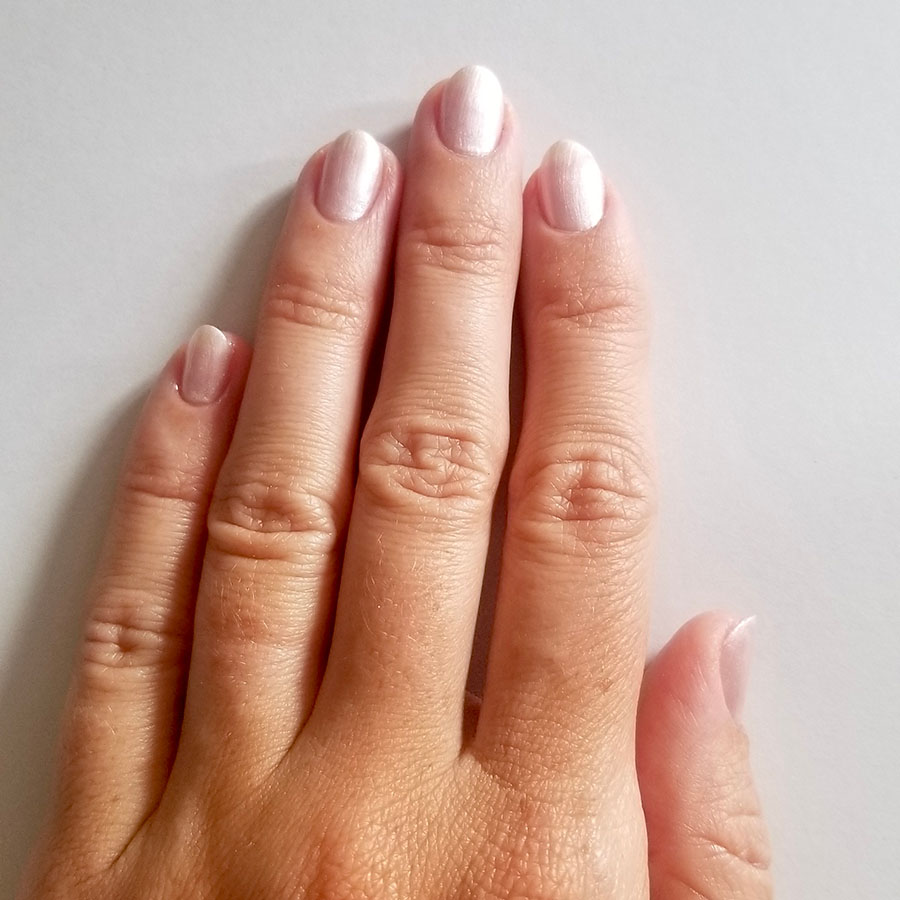
Now, we move on to shaping. There are many options for nail shape (rounded, squared, almond, stiletto, coffin), so choose whatever works best for you. I have been digging the almond shape lately! To achieve your preferred shape, trim your nails to the desired length and reach for your favorite nail file. A little pointer that I remember from my teens is to file from the outside corners of your nail toward the center. Using this method instead of sawing back and forth at the ends of your nails can actually help keep your nails stronger and gives you better control in achieving your desired shape. Be sure to buff away any frayed edges after you have finished shaping your nails.
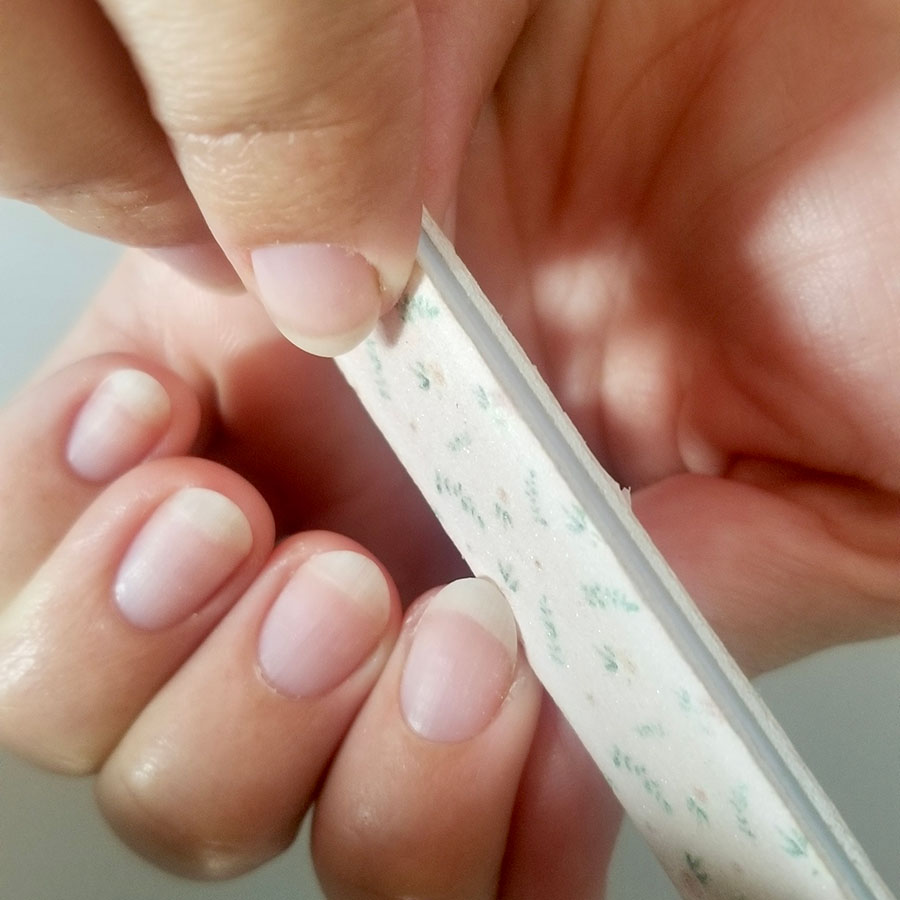
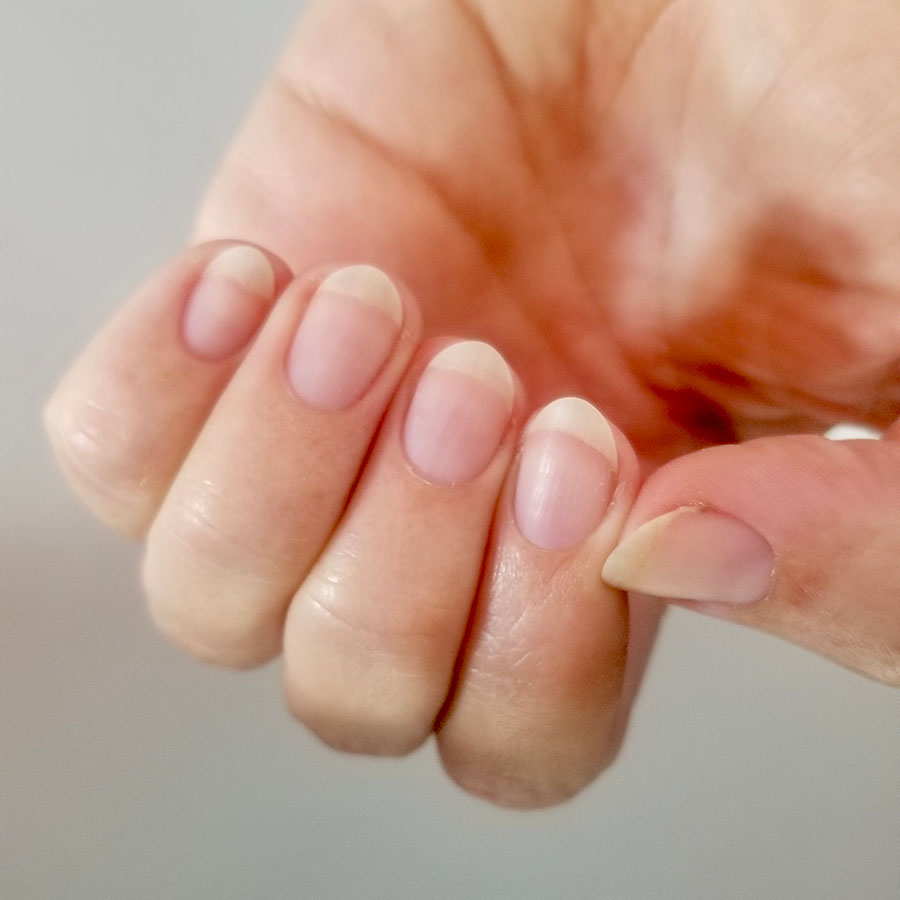
To prepare the surface of your nail for painting, wipe off any products or oils with a cotton ball soaked in polish remover or alcohol.
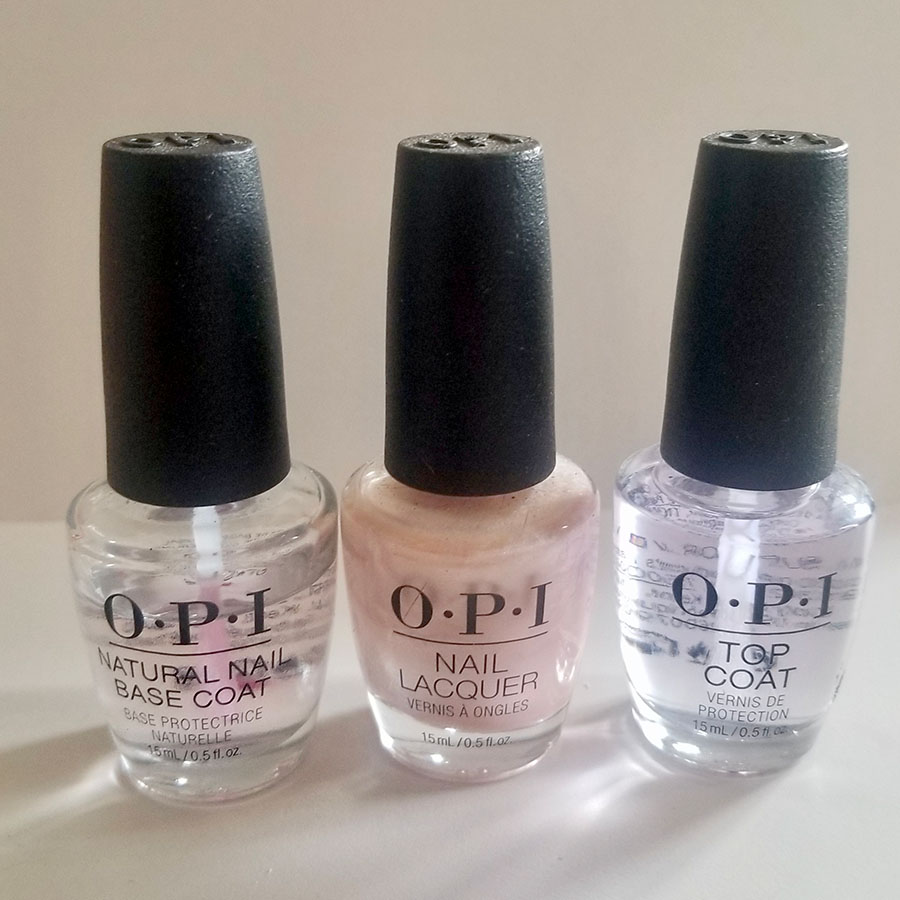
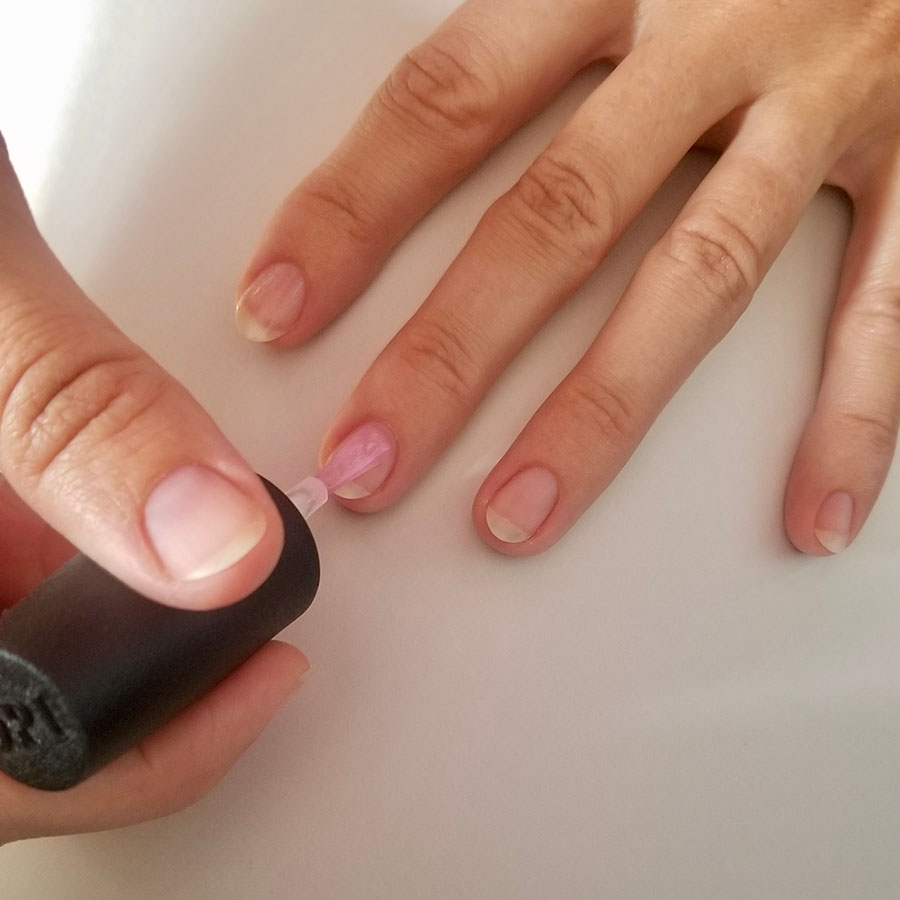
Let’s get painting! Start with a base coat. These products are designed to smooth out the surface of your nail and help polish to better adhere to the nail. When applying coats of polish, aim for as few strokes as possible. This will give you the smoothest application and reduce the occurrence of bubbles. I start by running my first stroke up the center of the nail from the base to the tip and then try to fill in each side with a stroke each from my polish brush. Be sure to wait for polish to dry between coats and use as many coats as needed to acquire your desired coverage.
Finish out your manicure with a quality top coat to help preserve and protect your polish! Et viola! Your talons are ready to tantalize and tease!
Bomb’s Go-To Exfoliating Manicure Scrub
- 1/4 c granulated sugar
- 1/2 tbs olive oil
- 3-4 drops of hand soap
- 1/2 tbs aloe vera (optional)
- 2 drops of your favorite skin safe essential oil
Mix ingredients together in a small bowl and you are ready to go! For smooth and moisturized hands, simply scrub and rub hands together under warm water and rinse.
Disclaimer: This post includes affiliate links, and I will earn a commission if you purchase through these links. Please note that I’ve linked to these products purely because I recommend them and they are from companies I trust. There is no additional cost to you.




This Post Has 0 Comments