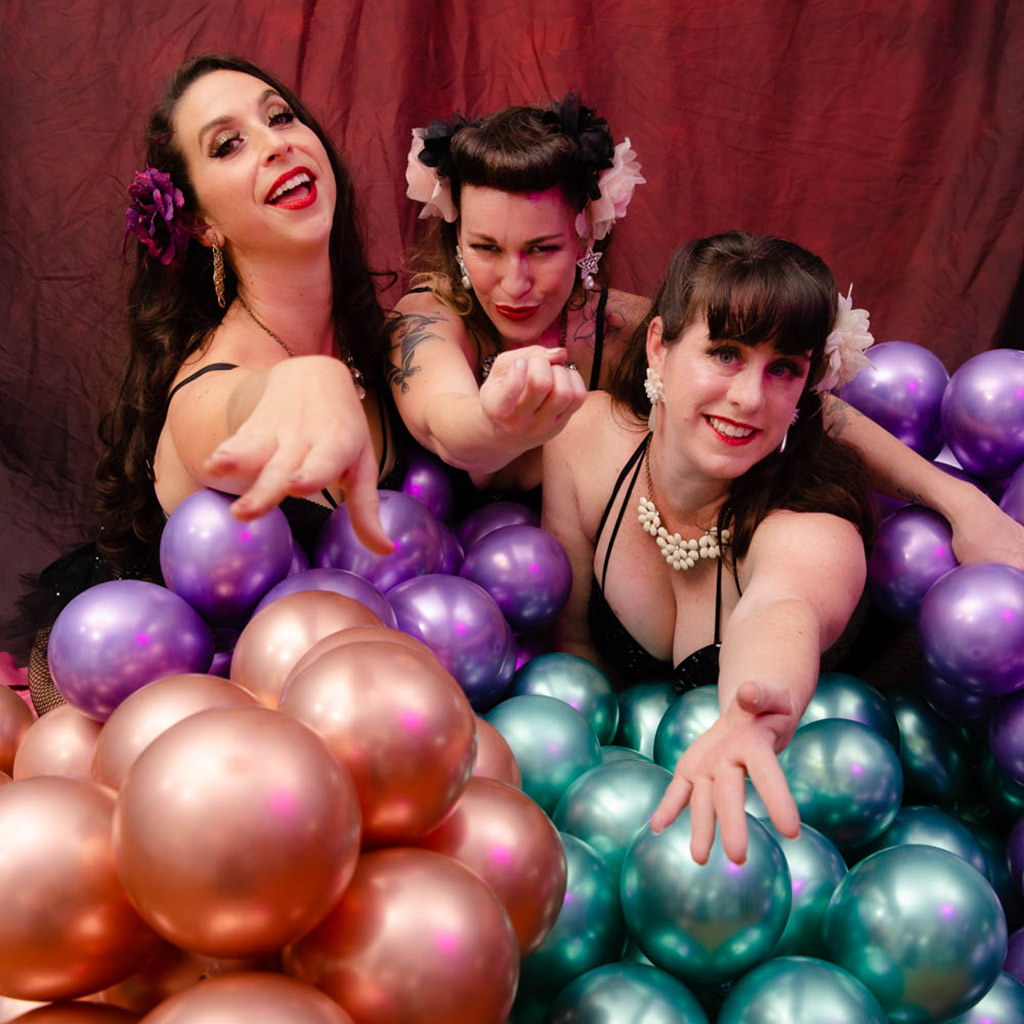
How to Make a Balloon Boa
This post may contain affiliate links. Read about our privacy policy.
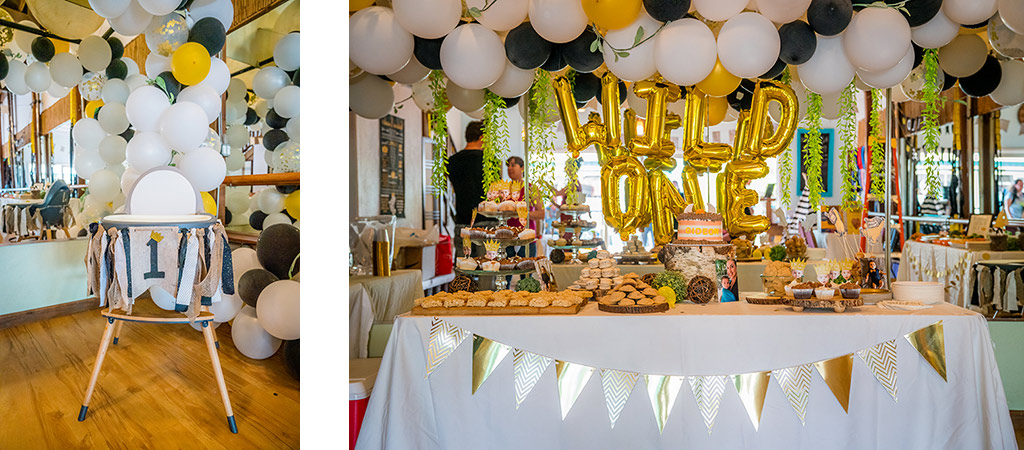
Balloon arches are my go-to, cheap thrill, big impact, low budget, ba-BAM decoration-of-choice for all occasions. Back in the day I used to marvel at people who had them at their parties. I wanted to be that cool! The first one I ever made was for my awesome friend’s first baby shower (uh, that was about 8 years ago!) and it was a mess of fishing line and took hours! Seriously hours for me to blow up, tie and then re-tie (I super-suck at tying balloons),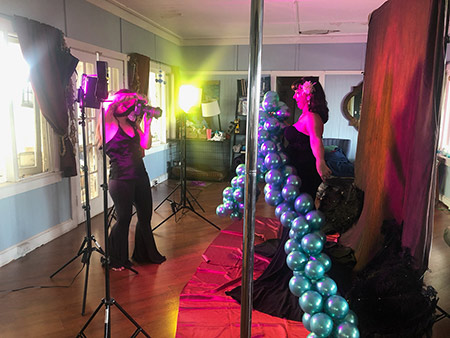 and then individually attach one balloon at a time with yards of fishing line. It looked awesome. It really did and I loved it!
For years that’s what I did. Blow, tie, tie, wrap. Blow, tie, tie, wrap. Lame! It wasn’t until I had a kid of my own that I figured there had to be a better way.
Not gonna lie, Pinterest is the shit! I found two options and have used them multiple times. Who knew, that years later, I’d be using those same freaking techniques to craft a killer balloon boa for a Burlesque photo shoot?
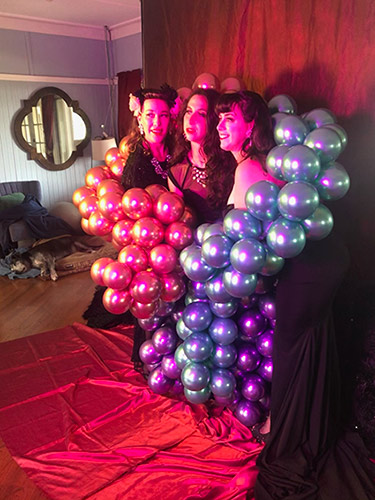
It’s the same basic concept for both a balloon boa and a balloon arch. Now you could use helium, but who has time for that? A balloon arch/boa takes a LOT of balloons. For the boas you see in these pictures, it was about 100. For the balloon arch at my kid’s first birthday (my Wild One theme was pretty spectacular) it was closer to 300 of various sizes and colors. Can you imagine the olden days when I did that by mouth? I mean, I’ve got talent, but that’s ridiculous.
Cue my all-time favorite party-time tool! It might seem weird to purchase an automatic balloon inflater, but shut down your doubt for a second and do it! This one includes these cool tie things that help you tie the balloons. Yeah, 
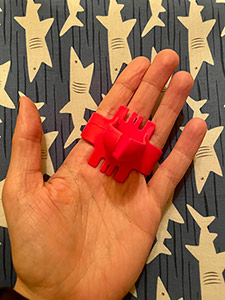 (And if you like that super-cute shark bag in the background, check out my girl, Julia, with her adorable wet/dry bags at http://www.oneloa.com/)
Now I skipped over the other most important part, which is picking balloons. You should do that. Ha! For the balloon boas we chose a solid color for each performer, but for parties I tend to go with at least three different colors, and I think I did six or seven types for my kid’s birthday arch. Up to you. I will say one thing, be sure you check balloon size, shape, and sheen. Yeah…I didn’t know there was much of a difference, but apparently, I was very wrong.
Color is obvious, but balloons come in multiple shapes. If I’m going corporate (I DO have a day job) I will go with fancy round balloons. If I’m going budget or I really don’t care, I will go with the standard shape (that’s what I did for my kid’s birthday, and it still looked awesome).
Balloons do come in various sizes and I usually buy a few different circumferences if I’m going fancy, but often you can just under and slightly over-inflate the balloons to get the same basic affect, or you can hit the dollar store and buy some water balloons and glue then on later, but I digress.
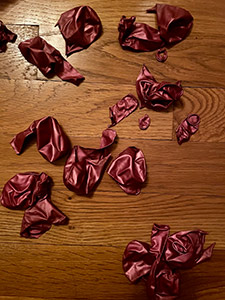 Sheen can definitely make a huge difference! Did you know balloons come in matte, metallic, opaque, blah blah blah? Well, they do. And a mix of sheens can give more dimension to an already epic statement piece. For the most part, I say go relatively cheap for a photoshoot or kid’s party or short, one-time event because who cares–except for Metallic balloons! I don’t know what it is, but metallic balloons can be problematic. The last couple of times I went cheap-o on metallics, I ended up with more than HALF the balloons in the package popping when I looked at them wrong. So splurge if you want to on all other balloons, but definitely don’t cheap-out on the metallics.

PROS:
- Super easy
- Can easily choose length. I buy the 50ft tape.
- So cheap!
CONS:
- These are a little harder to attach to the wall since the tape adds weight (the tiniest amount). Definitely get yourself some Command Hooks (LINK) and more than you think you’ll need, just in case.
- Harder to make designs, if that’s what you’re going for
Doesn’t always look “full”
The other method I use, which, honestly, I use more than the tape, is the fishing line method. You’ll need two things: fishing line (obviously) and plastic needles.


Once you have tied off one end, attach the other end to the plastic needle with a simple square knot, or any knot; it’s Knot rocket science. Now just thread the needle through the balloon bases and pull them to the end. At first it will look bleh (that’s a technical term), but after about 20 balloons, you’ll be stoked! Just keep going until you have the length you want, and BOOM! Magic-time! If you want to add even more flare, you can grab your favorite low-temp glue gun and glue smaller balloons anywhere you like.
 PROS:
PROS:
- Cheap, and the fishing line and needles last forever and are easy to have on-hand all the time
- Unlimited length. You could seriously make crazy-long installations with this method
- SOOO light and easy to adjust. I tie one end to a banister rung, and another to a light fixture, and then a curtain rod…
- Super “full” look
CONS:
- Takes a little longer to put together
- If you’re making a boa, you need to double check that the ends are tied properly.
So long story even longer, who knew I would turn a party prop pastime into a bubblicious burlesque accessory? And you can, too! Bonus, the next day my kid had a blast playing with Mommy’s costume!
Photo Credit: JBR Life Media and Mosseefx
Disclaimer: This post includes affiliate links, and I will earn a commission if you purchase through these links. Please note that I’ve linked to these products purely because I recommend them and they are from companies I trust. There is no additional cost to you.



This Post Has 0 Comments