
Tinkerbell Costume
This post may contain affiliate links. Read about our privacy policy.
After being a zombie for Halloween for many years in a row (6 I think) doing Thriller all over the island, this year I wanted to do something fun and cute and pretty and very much NOT zombie. So I chose a Tinkerbell costume.
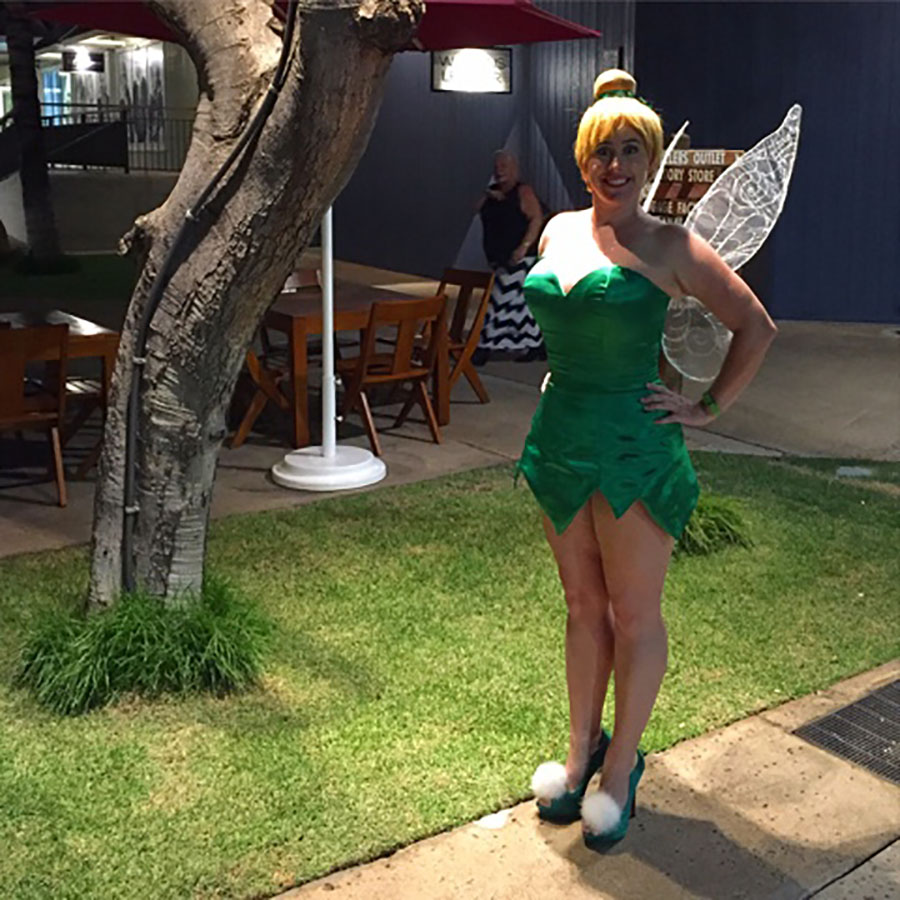
The Tinkerbell costume turned out awesome, though I’d originally had grander plans for it (the wings were going to light up). I ended up not having enough time to do the extras, but I still had a great costume.
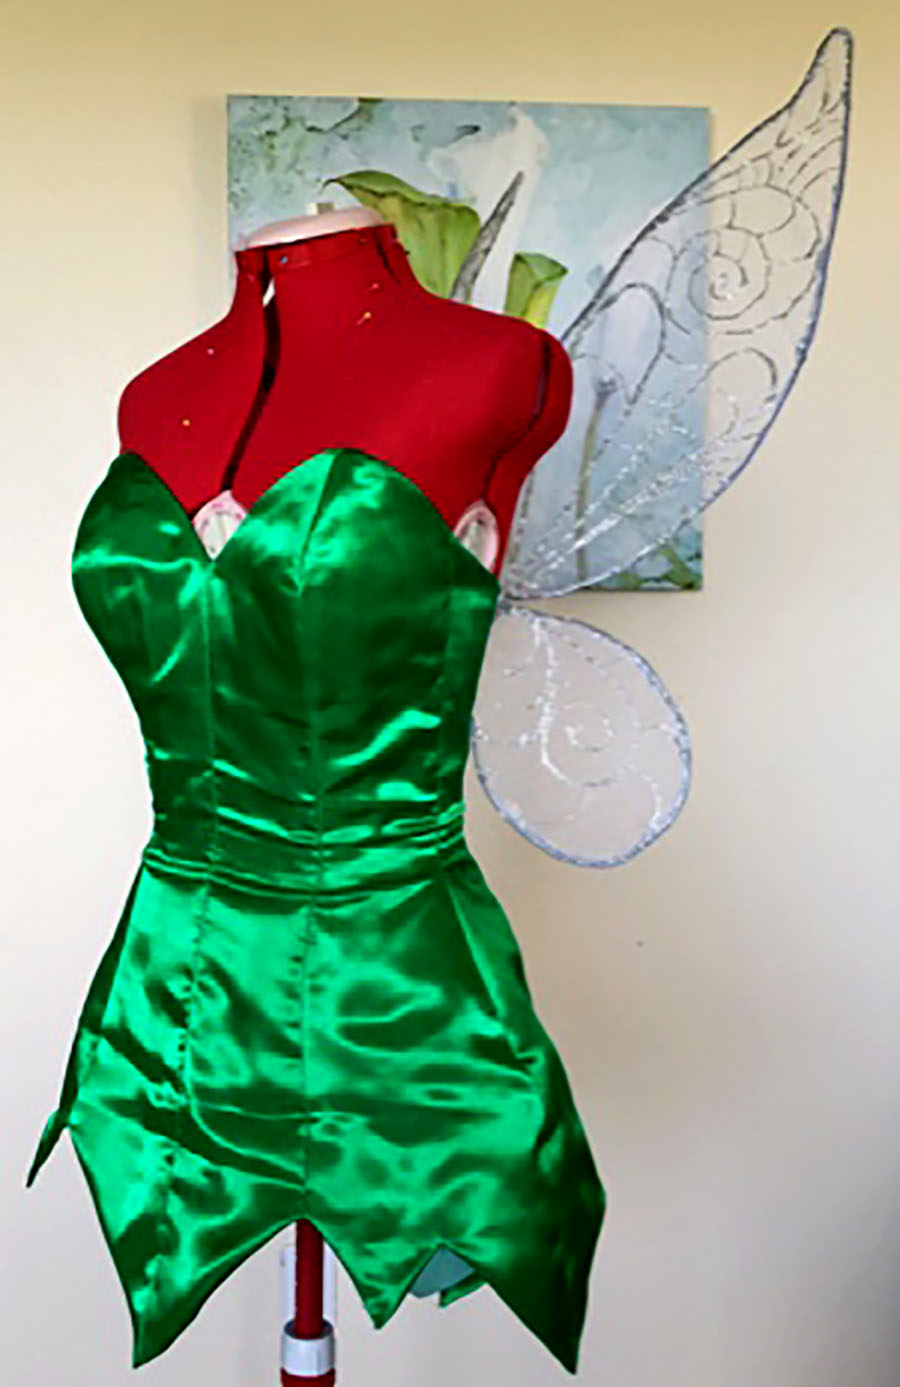
The Tinkerbell costume dress was made from a corset pattern. I just extended it into a dress.
All the corset structure is underneath:
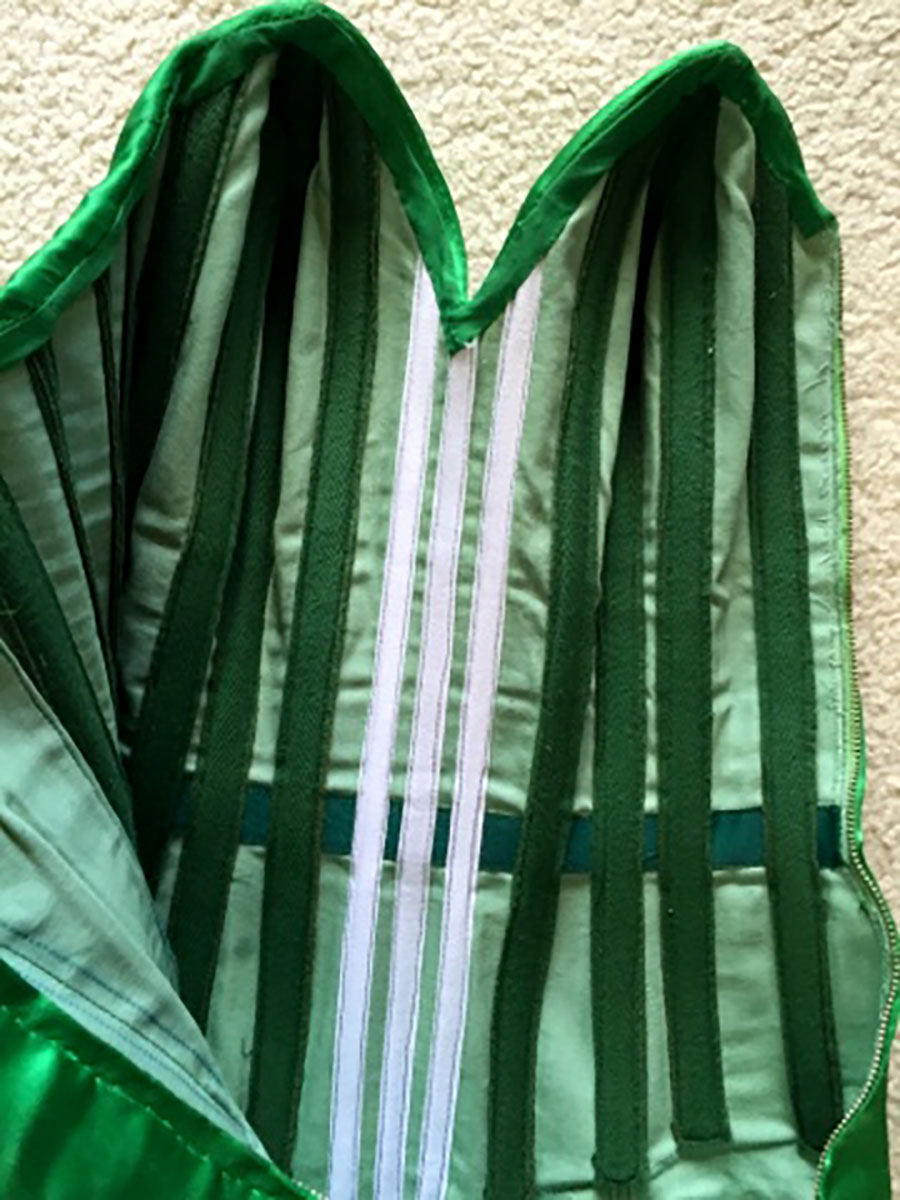
I dyed the coutil – it didn’t come out as green as I would like, but I swear it looked teal while I was dyeing it. Weird. I used flat steel bones for the center front and center back and plastic whalebones for the rest. I also added a zipper on the side since I wasn’t going to have a busk.
One of the challenges while fitting the mockup (toile) was how to do the back – I didn’t want it to lace all the way up from the bottom but I needed someway to cover my bum. I tired just sewing the center back together below the lacing but it did not fit right and kept bunching up in the back. So I ended up making a floating modesty panel that was the same size as the two center back pieces (sorry I didn’t take a picture before I laced it up):
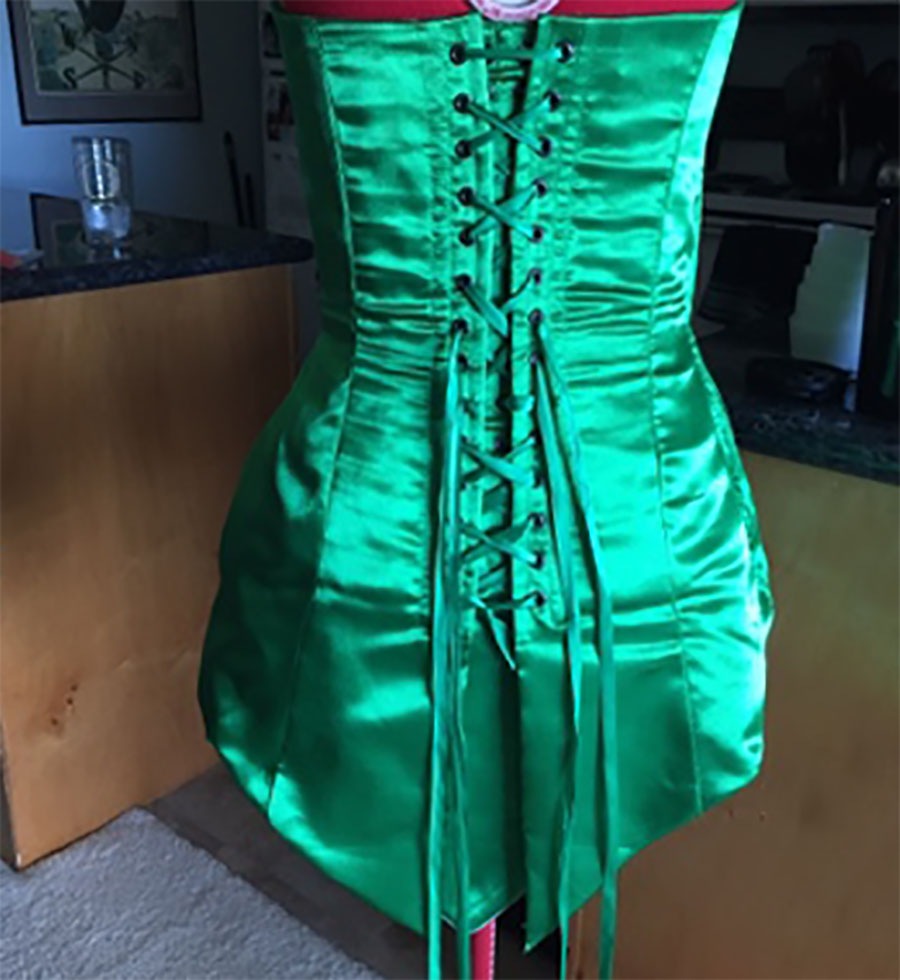
The full length modesty panel covered my bum (as a proper modesty panel should) and let the dress keep its shape at the bottom.
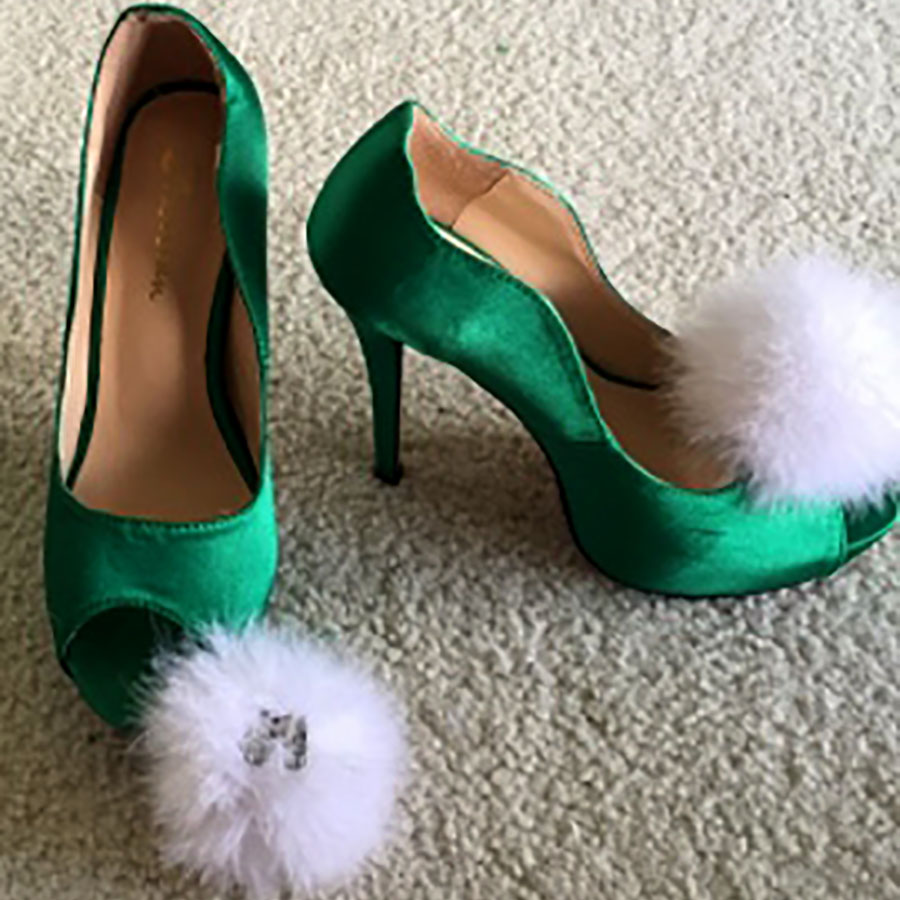
I bought the Tinkerbell costume wig and shoes on Amazon, and the shoe clip-on poofs on Etsy (annemusingdesigns – I had to request them).
The wings were difficult. I’ve never made wings and they seem like they’d be easier than they were. I’m sure there are some easier techniques, but I had some specific requirements because I had planned on making them light up (maybe someday I’ll get around to it). I had planned on using fiber optics to light up the veins of the wings, so I needed to be able to sew the fiber optics on – so I couldn’t use cellophane (though there are some amazing cellophane wings out there). Also, with the shape I didn’t think that stocking would look right. So here’s what I did (sorry, again no pics of the process – I was in a bit of a rush):
1. Frames: I made the wings out of 12 gauge wire from the hardware store. This is a very sturdy gauge, but it can also be a little difficult to work with. Next time I might try 14. I shaped the wings and then taped the wires together with electrical tape – there’s probably a better, more elegant way, but this worked. I made a U in the middle so I could use my corset to hold it up:


2. Fabric: I used an iridescent organza for the fabric of the wings. I like the look of the organza but it would have been nice to have had a stretch fabric. I hot glued the fabric around the edges of the frame – again, I’m guessing there’s probably a better, more elegant way to do this, but it worked though I did end up with a couple gnarly burns.
3. Decoration: I used glitter puff paint for the design. I had it drawn out on a piece of paper and just traced over the wings with pencil and then added the puff paint. My puff paint was old and kept clogging. It ended up being a little messy. Also, I might recommend a chrome silver rather than a glitter silver, but I already had the glitter.
If I’d had more time I would have covered up the middle section with green fabric or felt so it was a little less visible. But overall, the wings worked out great. They were a little uncomfortable in one spot, but I think if I fiddle with the wire I might be able to fix that.
Things I’ve learned and things I might do different:
1. Boning: I might have shortened the boning a bit at the center front. It was exceptionally hard to sit in and almost impossible to drive in.
2: Lining and casings: I think it might have looked better if I had done a lining instead of individual casings. Probably would have been easier too.
3. Fashion fabric pattern: the fashion fabric was a little too long in the waist. The structure fit fine, but I ended up with a roll in the green satin. I need to remove maybe a quarter inch at the waist for the outer fabric only.
4. Zipper: I put the zipper on the wrong side. Oops. I also upgraded zippers halfway through. I started with a nylon zipper and it wasn’t strong enough so I got a metal one instead.
5. Wings: like i said, there’s probably better, more elegant ways to make the wings, but I’m not entirely sure what they might be. If you have any ideas, suggestions, or experience, please let me know.
Disclaimer: This post includes affiliate links, and I will earn a commission if you purchase through these links. Please note that I’ve linked to these products purely because I recommend them and they are from companies I trust. There is no additional cost to you.
Related Posts


Comments (0)